Blink is a popular security camera brand that’s loaded with numerous features, making it a reliable choice overall.
Living at the fringe of civilization, as I do, these cameras offer an extra set of eyes on my property to deter package thieves and potential intruders.
Beyond providing security, Blink also captures and records any noteworthy incidents, providing a handy evidence trail if necessary. However, like any electronic device, it’s not immune to the occasional glitch. One common issue is the LED light flashing red.
Fortunately, I’ve found this issue to be pretty straightforward to resolve. Fixing mine took under 30 minutes. Still, I researched additional solutions just in case it recurs.
In this article, I’ll guide you through simple steps to resolve the issue of a Blink camera flashing red and explain some common reasons why this might occur.
The Clever Fix
If your Blink camera is flashing red, check your Blink app to see if your Blink camera is connected to either the Wi-Fi or the Sync Module. If not, reconnect your camera using the app, and that should solve the problem.
Why a Blink camera flashes red
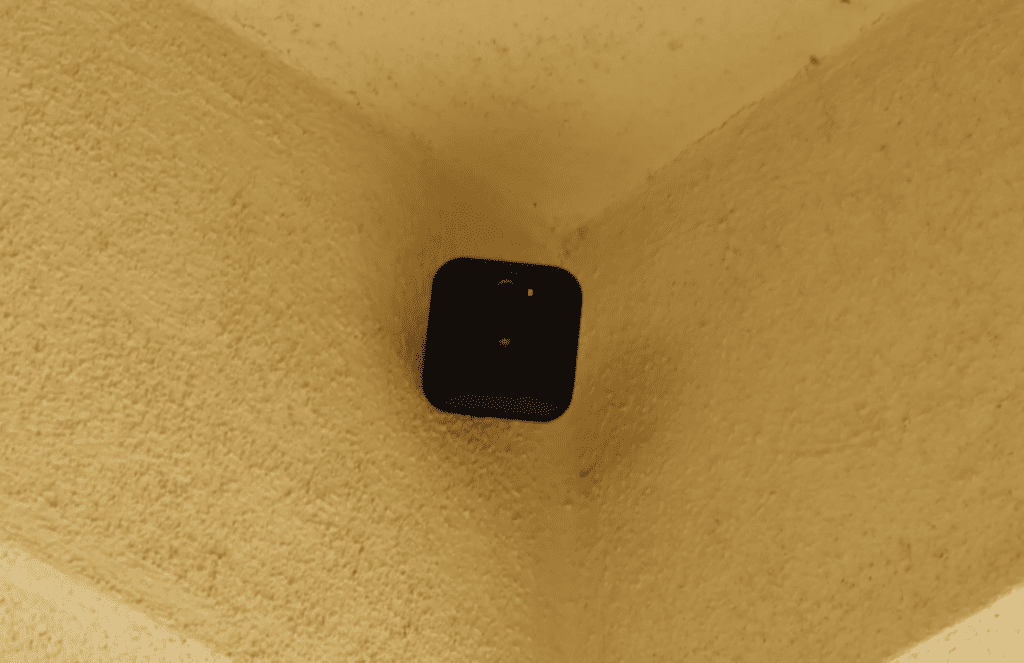
There could be multiple reasons why your Blink camera flashes red, but luckily, most of these can be resolved without much effort.
Before we dive into potential solutions, it’s crucial to first verify if there’s truly a problem with your Blink camera. Sometimes, what seems like an issue is just a part of your camera’s normal functioning.
Motion detected
If the motion sensor on your Blink camera is triggered, the camera will flash red. This flash is typically brief, long enough only to signal that motion has been detected.
Usually, you’ll receive a motion alert on your phone when this happens and can review the footage uploaded to the Blink cloud to determine the cause.
It may also be useful to inspect the camera’s view for any frequently moving objects, like a bush or tree, that might trigger false alerts.
Set-up process still in progress
One possible reason for the red light could be that you’re still in the midst of setting up a new camera.
For Blink Outdoor, Indoor, XT2, or XT, you’ll notice the red light flash five times at length, followed by a short flash every three seconds after initially inserting the batteries. This will continue until the camera establishes an internet connection.
If you don’t see the five long flashes, try swapping out for a fresh pair of batteries. This will help you determine if the problem lies with the batteries rather than the Blink camera itself.
A freshly installed Blink Mini camera will flash red initially, then transition to a solid green and blinking blue light. This indicates it’s connected to a network and ready to be added to your system, assuming you have a Sync Module.
All you need to do now is complete your camera’s setup.
However, if you’ve been using your Blink camera for some time and notice it frequently blinks red, or if the red blinking persists a few minutes post-setup, you may want to move on to the next section.
How to fix a Blink camera flashing red
More often than not, a Blink camera flashes red because of weak signal strength. There are three primary culprits:
- Internet issues
- The camera’s connection to the Wi-Fi or Sync Module
- The Sync Module’s connection to the Wi-Fi
To see if an internet issue is behind the problem, first check if you can still access the internet on your phone.
If you can connect, it may be helpful to run a network speed test to check your internet speed.
A Blink camera typically uses around 750 KB of data for a 5-minute clip (with top quality audio and video settings) and only records when motion is detected. It requires an upload speed of at least 2 Mbps to function properly.
If your network is running slowly, try rebooting your router to see if that resolves the issue. Here’s how:
- Unplug the router’s power cords.
- Let it rest for at least 30 seconds before plugging it back in.
- Make sure that the cord and cables are secure before turning on the router. Wait for a few minutes until the router flashes green or blue.
If that doesn’t speed things up, there might be an issue with the modem or router, a local service outage, or you could have maxed out your data allowance. In any of these cases, reach out to your internet service provider for assistance.
Assuming your network checks out, head over to your camera’s app to make sure your camera is properly linked to either the Sync Module or your Wi-Fi.
A solid indicator that your Blink camera has been disconnected from your Wi-Fi, apart from checking the app, is to note the frequency of the red light flashes.
A Blink Mini will display a solid red light when it loses internet connection, while the Blink Indoor, Outdoor, XT2, and XT will flash 5-6 times.
Fix camera connection
To re-establish your camera’s connection to your Wi-Fi or the Sync Module, navigate to the camera’s settings and tap on Update under Status.
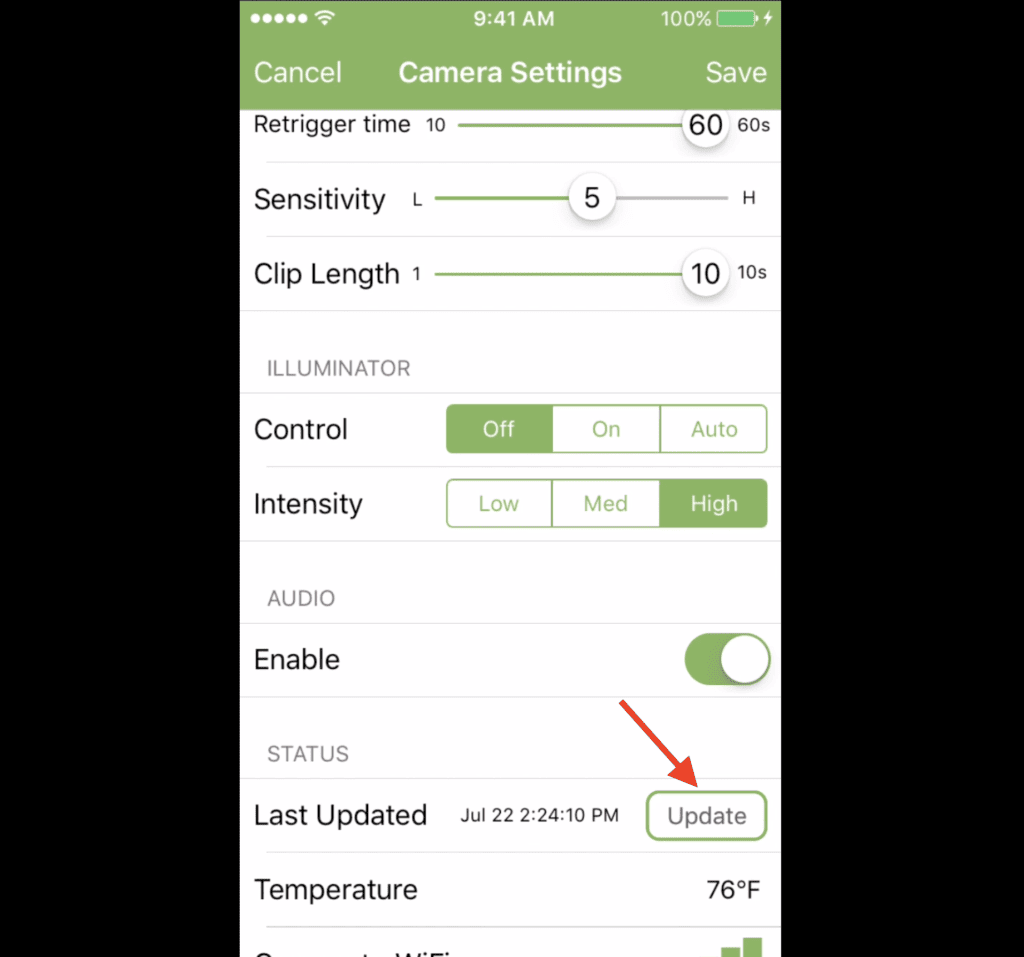
Under ideal circumstances, both the Wi-Fi and Sync Module connections should show good signal strength. If they don’t, you can easily reestablish the connection using the app.
If the camera still refuses to connect, you’ll need to reset your Wi-Fi and then reintroduce the camera to the new network.
To do this, first, reset your Wi-Fi network:
- Locate the reset button, which you can find on the back or bottom of the router.
- Using a paperclip or any small object, push the reset button for at least 30 seconds, then turn the router back on.
- If your router doesn’t have a reset button, you’ll have to contact your internet provider for support.
Once you’ve reset your Wi-Fi network, it’s time to reconnect your Blink camera.
- Go to the Blink app and tap on the small cloud icon. Look for Change Wi-Fi Network and click on it.
- Tap on the Ready button, scan the QR code on the Sync Module, and click Continue.
- Check your Sync Module and see if it’s flashing blue and green lights (you may have to wait up to a minute).
- Tap on Yes, then wait for your app to connect.
- Once in, select your new network, enter your new password, and click Join.
See if this resolves the issue. If not, move on to the next section.
Fix the Sync Module connection
The next thing to check is your Sync Module’s connection.
The Blink Sync Module is a small white device, sold separately or included with some Blink models, linking all your Blink cameras into a unified system.
This nifty gadget can tether up to ten Blink cameras to a single IP address within its system, and it even supports local video storage.
Using a Sync Module boosts your camera’s battery life, enhances internet connectivity, and lets you manage all your Blink cameras from the Blink app.
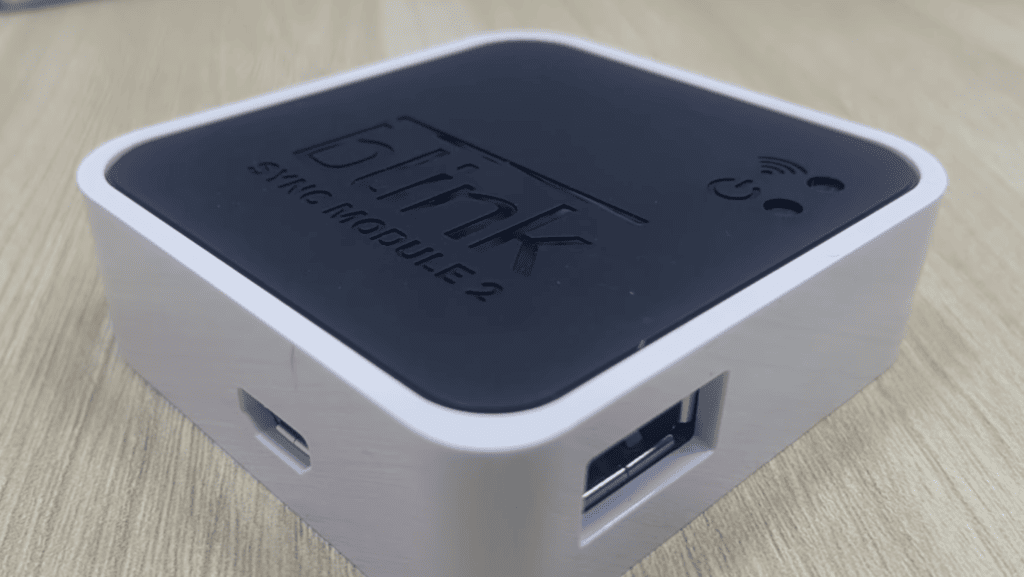
To examine the Module’s connectivity, just scoot over to the Home menu on your Blink app, find Sync Module and select it.
Check if the signal status in the top right corner shows good strength. Like with the camera, you can simply re-establish the Wi-Fi connection using the app.
If the signal is weak or disconnected, you could try relocating the Sync Module closer to your router. Reconnect the module and assess the signal.
If shifting it around doesn’t do the trick, it might be time for a power cycle.
Simply unplug the power cord from the unit, wait at least 10 seconds, then plug it back in. Flip the power back on and look for a blue and green light.
If this doesn’t solve your problem, it’s time to consider resetting either the Blink camera or the Sync Module.
Reset camera
If the above steps didn’t fix the issue, you’ll have to resort to hard reset. Resetting the camera refreshes its internal memory, essentially returning it to its original settings.
To reset your camera, you’ll need to locate a tiny hole. For the Blink Mini, it’s on the bottom, while for the Blink Outdoor, Indoor, XT2, and XT, it’s found on the back.
Grab something thin, like a paperclip or your phone’s sim ejector (avoid using a pin or tack, as they could damage the camera), press down, and wait for the red light to turn blue or green.
Remember, once you reset the camera, you’ll have to go through the initial setup process all over again.
Reset Sync Module
If your Sync Module isn’t showing a combination of blue and green lights even after a power cycle, you’ll have to reset it.
Seek out a tangible reset button on the module. For earlier models, it’s located on the side, while for the Sync Module 2, you’ll find it on the back. Using a small implement or even your fingernail, press and hold the reset button for a minimum of five seconds.
Wait until the module displays a blinking blue light and a solid green light. Then head to the Blink app and reintegrate the module with the network.
Replace the battery
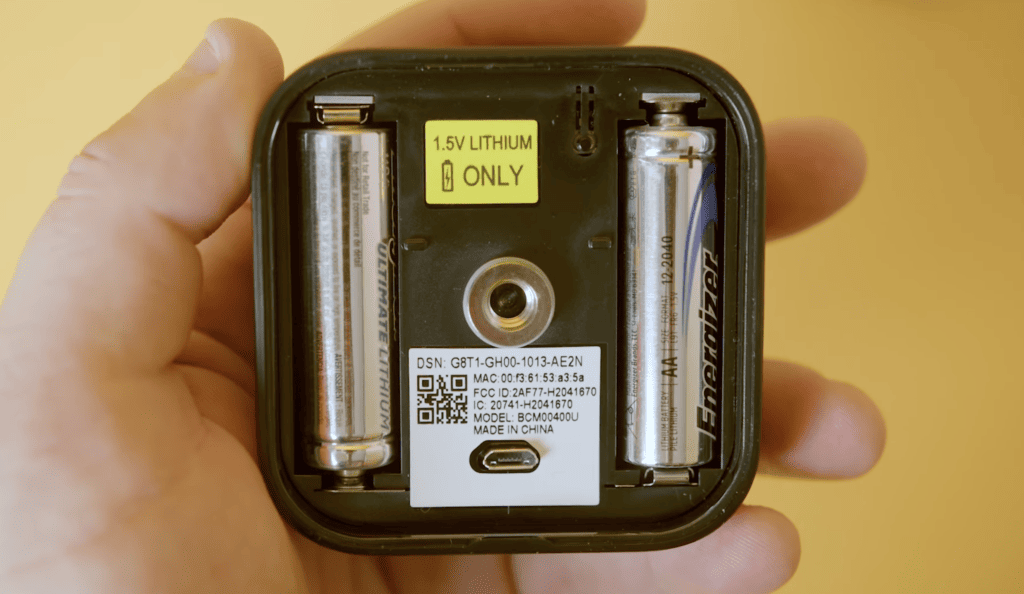
If your Blink cameras have been in service for a while, it’s probable that the batteries are nearing the end of their life and need replacement.
Typically, a decent pair of batteries should last between three to five years under normal conditions. However, factors like weather, frequent use, and others could accelerate their demise.
If your Blink camera emits 5 or 6 red flashes after its blue LED light (the recording indicator) switches off, this signifies battery failure. You’ll need to pop in two new AA 1.5V Lithium non-rechargeable batteries.
A quick note: It’s possible to disable your recording indicator light if you don’t want the camera to attract attention. However, even with the indicator light off, the camera will still flash red when the batteries are dying. You can disable the indicator through the app for all Blink models except the Blink Video Doorbell and some older Indoor models.
After you’ve loaded up on new batteries, give the camera a reboot and wait a full minute to see if the red flashing ceases.
Delete the Blink camera from the app
Another simple fix to consider is removing the Blink camera from your app and re-adding it.
From the app’s home screen, tap on the Settings icon. Scroll down, select Delete Camera, and confirm the deletion by tapping on Yes.
Then, return to the app’s home screen and click on the “+” button. The screen will showcase various Blink device types you can connect. Choose your camera model and scan its QR code.
If scanning the QR code isn’t an option, tap on Enter Serial Manually and key in the Device Serial Number (DSN). This can be found on the packaging box or the device’s back.
Go through the setup process and then click on Done.
Reposition the camera
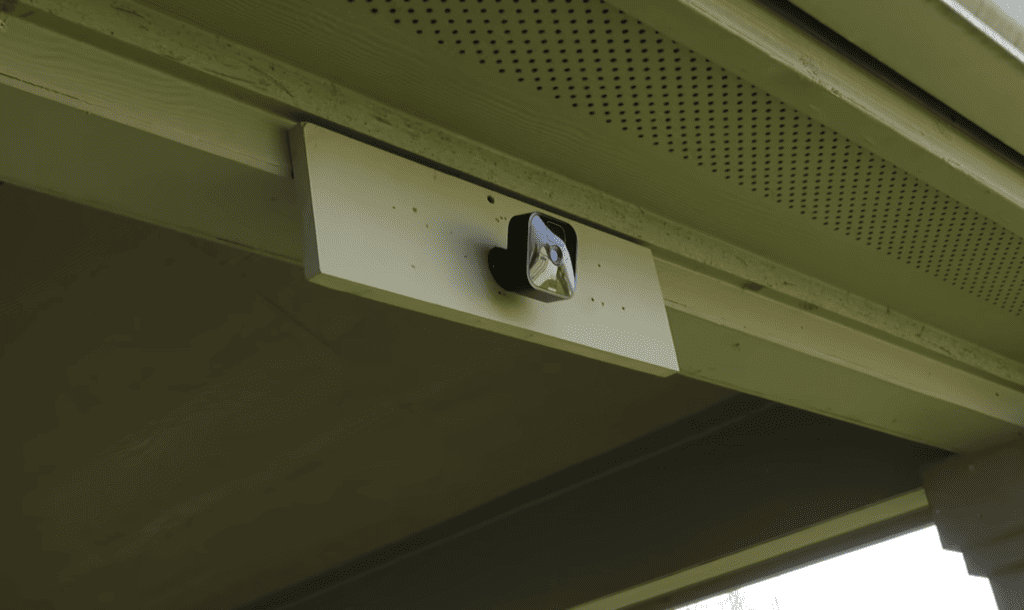
Just like most electronics, Blink cameras can act up when exposed to extreme heat.
Take a look at where you’ve set up your cameras. Are they constantly baking under direct sunlight?
If they are, it’s possible that overheating has triggered a hardware glitch. (Note: this is pretty unlikely, but it never hurts to check.)
Blink’s indoor camera models and mini can withstand temperatures between 32° to 95°F (0° to 35°C), while their weatherproof cameras can brave temperatures from -4° to 113°F (-20° to 45°C).
Exceeding these limits might cause your camera to go haywire or stop working entirely. For optimal performance, best to position your cameras in spots where there’s no risk of overheating.
You can use the app to monitor whether your Blink camera is parked in a hot spot by enabling Temperature alerts.
- Go to the Blink app, and tap on the settings icon.
- Go to General Settings.
- Then, tap on Temperature.
- Click on the toggle to Enable Temperature Alert.
Contact Blink support
If none of the previous steps achieve success, your camera could be dealing with a malfunction or hardware error. In this case, it’s time to get in touch with Blink support.
You can submit a ticket on their support page, and a support agent should reach out to you via email within 24 hours.
Alternatively, feel free to ring them up at 781-332-5465. If you made your Blink camera purchase via a TV ad, the number to call is 877-367-4726.
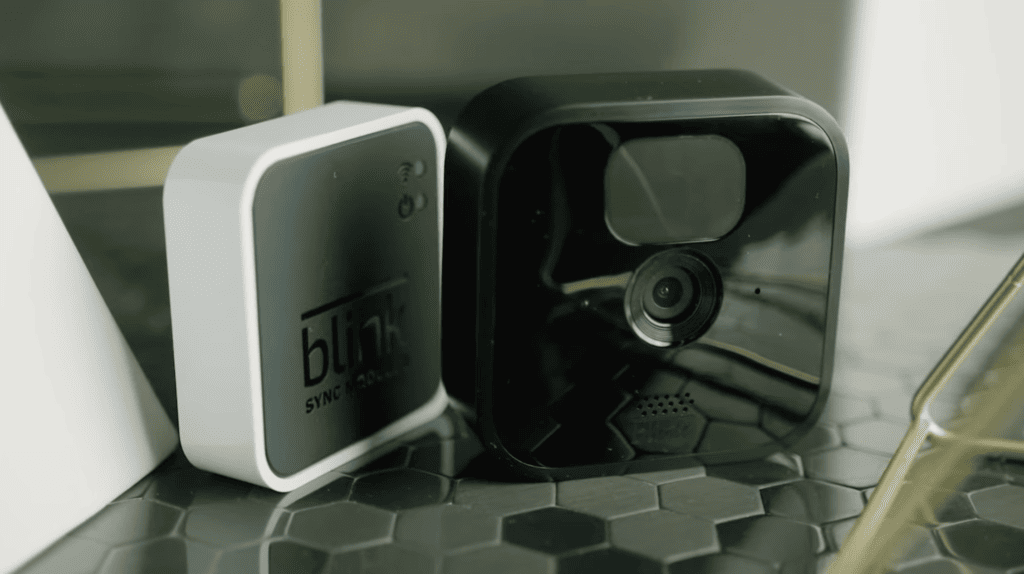
Make sure to have your Blink camera at hand and your account accessible before you contact Blink support.
Your account details are hidden by default until you authorize a Blink support agent to view them.
To give such access to a Blink support agent, do the following:
- Go to the Blink app, and click on Settings.
- Find Account and Privacy.
- Scroll down and tap Grant Blink Support Account Access.
A popup should appear, confirming that your account details are now accessible to Blink support.
If all else fails and they can’t fix your Blink camera, it’s time to verify the status of your camera’s warranty. Generally, Blink cameras come with a one-year limited warranty.
However, this can vary based on the specific model and place of purchase. If the warranty is still valid, you can request a repair or replacement. Just ensure you have your proof of purchase and serial number ready.
For more specifics, head over to Blink’s website to peruse its warranty coverage and any limitations.
Conclusion
Usually, a blinking red light on your Blink camera implies a connection issue to either your Wi-Fi or the Sync Module, and resolving this should remedy the situation.
If this doesn’t rectify things, you can:
- Reset your Wi-Fi router.
- Reset the Sync Module or camera.
- Replace the batteries.
- Delete the Blink camera from your account and add it again.
- Reposition the Blink camera.
If these steps don’t yield a solution, you’ll need to reach out for more detailed assistance in fixing your camera or arranging a replacement.

