

Nest thermostats are one of the most innovative technologies available on the market today. You can connect your heating, ventilation, and air conditioning (HVAC), control it, and even schedule it – all in a breeze.
So, you can imagine the dismay of users waking up in a sweat because of a faulty Nest thermostat – including me (which is totally uncool). When that happened, I spent hours researching how to fix it.
Here’s what I found: First, you need to know if it is a problem with the Nest thermostat or the HVAC itself.
If the Nest system is functioning normally, but the HVAC does not put out any cold air, it’s probably an issue with the HVAC or your drainage pipe.
But if your thermostat is chattering, clicking, or short cycling, it is a problem with your Nest thermostat.
The Clever Fix
Perform a restart. To do this, press the thermostat ring and hold it until it turns off. Release the ring and then repeat the process until the thermostat turns on again. The Nest logo will appear when it restarts. Wait for it to turn on and set the temperature to cool.
Why is my Nest thermostat not cooling?
One common reason could be loose wiring which can result in power troubles and cause your device to act up.
Here are some handy tips to help you figure out what’s going wrong with your Nest thermostat and how to fix it.
Check for loose or damaged wires

You’re probably thinking – wiring issues mostly crop up during installation, right? Well, that’s maybe true, but wires can also become loose or wear down over time. So, it’s a good idea to regularly take a peek behind your Nest thermostat’s plate and check if anything’s disconnected or damaged.
Check air filters for obstructions
Don’t forget to check your air filters too. If they’re dirty and blocked, your cooling system might not be running as efficiently as it should, or worse, not cooling at all. Blocked air filters can even cause your HVAC system to break down, so it’s crucial to keep them in check.
Check if the C-wire is detected
If your thermostat isn’t cooling (or heating) your home effectively, it might be due to a lack of sufficient power. This issue often comes down to a dodgy C-wire.
A C-wire, also known as the common wire, is typically connected to the Nest Thermostat E and Nest Learning Thermostat to ensure they have a steady power supply.
To check the C-wire, navigate to Settings. Go to Equipment and choose Wiring Info.
You’ll see a diagram showing your thermostat’s internal wiring. If any wires are grayed out – that means your thermostat isn’t detecting them.
You can replace these wires using a Nest thermostat guide, but honestly, I’d recommend getting a pro in to sort it out.
5 Quick Fixes for Nest cooling issues
If there’s no problem with the hardware, then it’s time to roll up our sleeves and fix the issue – no need to break out a toolbox, though.
Here are some simple solutions that can help sort out your Nest thermostat’s cooling issues.
1. Update Nest software

Nest thermostats automatically do their own software updates. But since Google rolls out updates for Nest products in batches, you might have to wait your turn. So if your thermostat isn’t cooling your home, it might be time to manually check for updates.
To do this, just follow these steps:
- From the home screen of your thermostat, choose Settings.
- Tap on Version and select Update.
Once everything’s up to date, set your preferred temperature and see if the A/C starts cooling.
2. Adjust auto-schedule configuration
Like most smart gadgets today, your Nest thermostat learns from you. It picks up on the temperatures you prefer at different times of the day and creates a schedule based on these habits. Pretty nifty, right?
But the auto-schedule feature could be the reason why your Nest isn’t cooling properly. It can get stuck in a routine and miss sudden weather changes, like a heatwave, that doesn’t mesh with your set cooling parameters.
Don’t stress out, though. You can adjust the auto-schedule feature through either the Nest app or the thermostat itself.
Here’s how using the Nest app (for Nest Thermostat E and Nest Learning users):
- Select your thermostat on the home screen.
- Select Schedule. You will see the grid schedule your thermostat is in.
- To change the existing temperature: Select the day of the week you intend to change. Hold the pointer – drag it up or down to change the temperature. Drag to the left or right to adjust the time.
- To add a new temperature: Select the day you want to add a new temperature. Click Add. Tap on the grid to create a new setpoint. Drag it up and down to adjust the temperature and left or right to set the time.
If you want to adjust directly on the thermostat (for Nest Thermostat users):
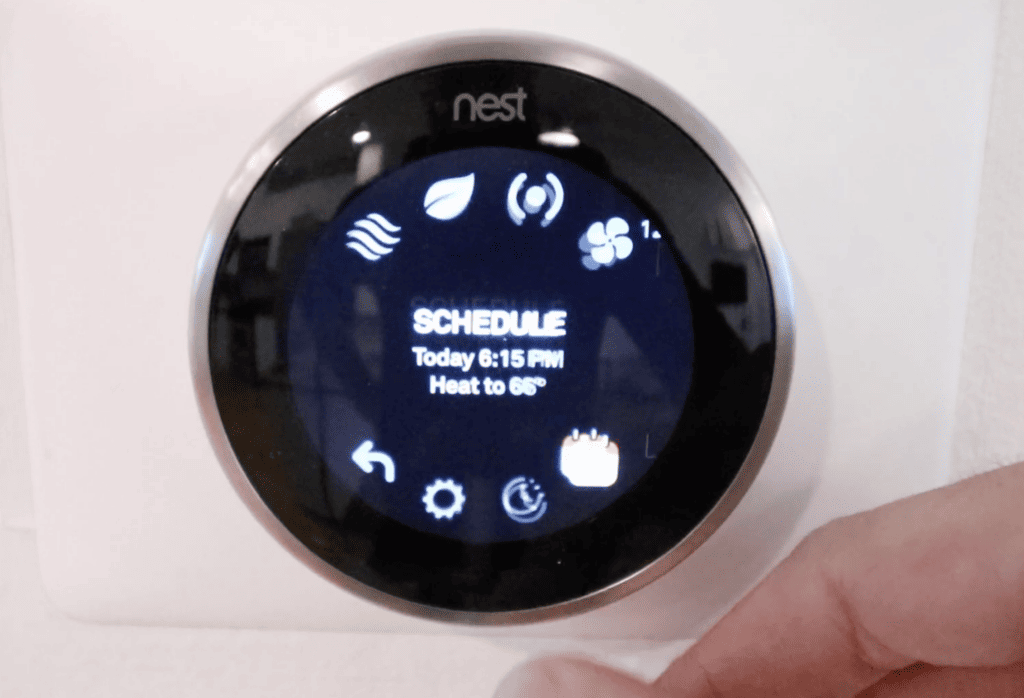
- Tap on the right side of the thermostat and open the Quick View menu.
- Select Schedule. This will show a layout of your cooling habits for the current day.
- Twist the Nest ring to navigate the schedule.
- To revise an existing temperature: Hunt through the schedule until you spot the temperature you want to tweak. Push the ring to pick that setpoint. Choose Change to adjust settings. Twist the Nest ring to alter the time. Press the ring down. Turn the Nest ring again to adjust the temperature and press down once more.
- To introduce a new temperature: Skim through to discover your preferred time and day. Press down and click New. From there, it’s the same drill – twist the Nest ring to change the time. Press down. Twist the Nest ring again to adjust the temperature and then press down to set a chillier temperature.
And if you fancy manually cooling your space exactly to your liking, you can disable the auto-schedule. This means your thermostat will stop learning from your preferences and halt auto-scheduling.
To turn off Auto-Schedule, follow these steps:
- In the Nest app: Select your thermostat. Go to Settings and click Auto-schedule. Tap the switch to turn it off.
- On the thermostat: Go to Settings. Press Nest Sense. Select Auto-Schedule. Choose Off and press down.
Bear in mind: Auto-schedule is only available on Nest Thermostat E and Nest Learning Thermostat.
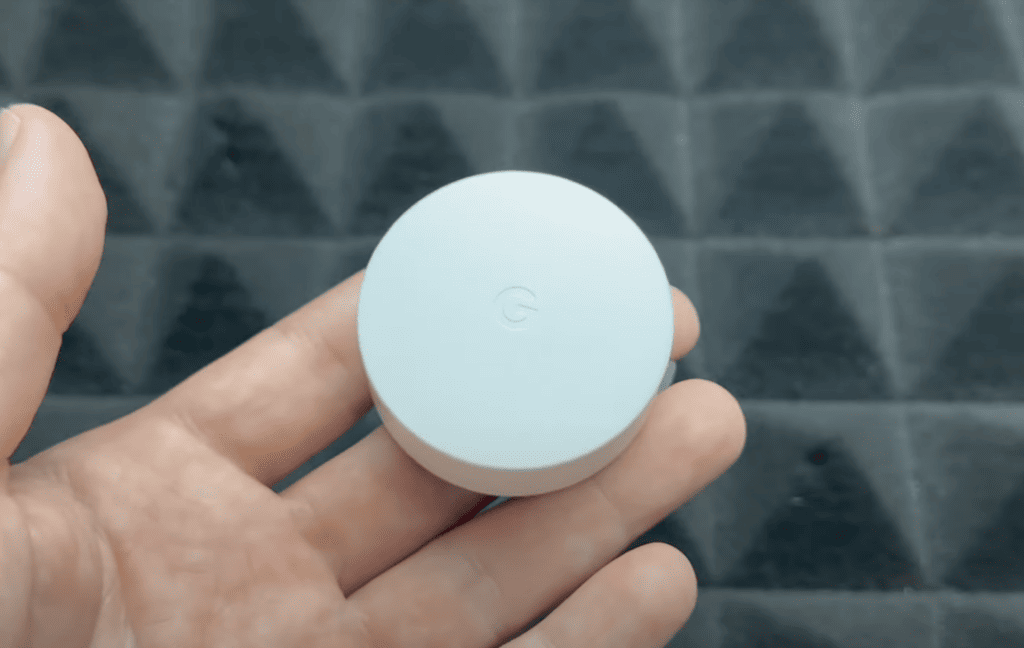
3. Move your Nest sensor
If tweaking the schedule still doesn’t get your home cool the way you want, your Nest Temperature Sensor placement might need a second look.
The Nest sensor is a godsend, especially if you’re stuck with a badly-positioned thermostat. But if your room isn’t cooling despite having a sensor, check where it’s positioned.
Sensors that are too close to a window can be affected by external temperatures, messing up your thermostat’s efficiency. Similarly, if your sensor is in a room that’s typically chilly, it might cause the rest of your space to overheat.
If you recognize these issues, relocate the sensor to a more protected spot. Keep it away from direct sunlight, confined spaces (like closets or bookshelves), or heat sources (such as vents, stoves, or water pipes).
Sometimes the problem isn’t about your sensor’s location. Your Nest might not be cooling if someone manually adjusted the temperature on the thermostat.
To address this, check the Nest app to see if the sensor is active or connected.
4. Charge the battery manually
Seeing a blinking red light on your Nest thermostat? That’s a signal that the battery is running low and the device is recharging. This could be messing with your HVAC’s cooling and heating functions.
Nest thermostats usually need between 10 minutes to an hour to fully recharge.
But if the red light keeps flashing for over an hour and the “Low Battery” message on the Nest screen won’t disappear, it’s time to check your battery.
Nest thermostats don’t have a direct power source, they draw power from your HVAC system. So, if the power supply is lacking, you might need to manually charge your device.
Don’t worry – even though I said we wouldn’t be taking anything apart, this is really easy. Just follow these steps:
For Nest Thermostat E and Nest Learning users:
- Remove the cover of your thermostat.
- You will find a micro or a mini USB port at the back.
- Charge the battery for two to three hours.
- After charging, put the Nest displays back.
- Go to Menu and click Settings.
- Choose Technical Info and go to Power.
- Once your battery is fully charged, the voltage reading must be 3.8 V.
Meanwhile, the basic Nest thermostat runs on regular alkaline batteries. Here’s how you replace them:
- Remove the cover of the thermostat.
- Replace the old batteries with brand-new AAA alkaline batteries.
- Put the cover back on the Nest thermostat.
Your Nest thermostat should be good to go and cooling just the way you like it.
5. Factory reset your Nest thermostat
Sometimes, the easiest solution does the trick. A thermostat reset might just solve your cooling problem (it worked for me).
Before hitting reset, jot down or snap a photo of your current settings — things like the wiring, system heating or cooling type, and Safety Temperature. This will make it quicker to get everything set up again after the reset.
Just a heads up:
For those using the basic Nest Thermostat, know that doing a Factory Reset will wipe all of your settings clean. On the other hand, users of Nest Thermostat E and Nest Learning Thermostat have the option to choose which particular setting to reset.
Here’s how to do a reset:
For Nest Thermostat:
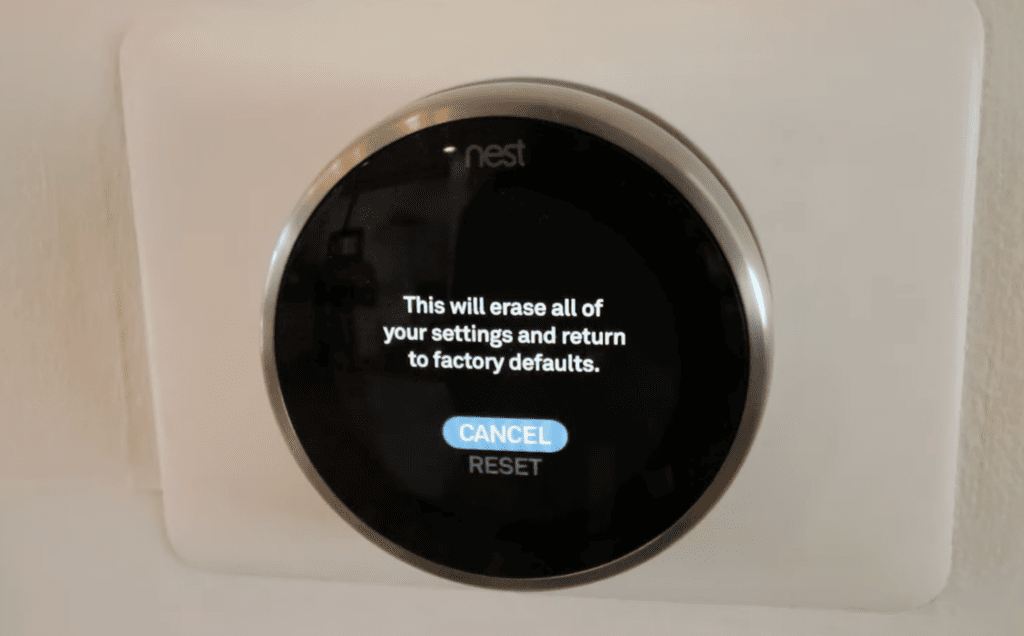
- Go to Settings and choose Factory Reset.
- A dialogue box will appear, asking you to confirm your choice. After confirming, wait a few moments as the thermostat resets.
- Configure your thermostat according to your saved settings.
For Nest Thermostat E and Nest Learning Thermostat:
- Go to Settings and select Reset.
- Choose what to reset between these options:
- Schedule
- Home/Away
- Account Connection
- WWN Connection
- Network
- All Settings
- Set up your thermostat again based on your saved settings.
Bottom line
So, is your Nest cooling just as it should? With summer on the horizon, I’m hoping it is!
However, if you’ve tried everything I’ve suggested and your thermostat is still not cooling properly, consider these additional fixes:
- Restart your HVAC unit.
- Replace the C-wire of your thermostat.
- Check if your circuit breaker is broken.
And remember, you can always get a pro to inspect your thermostat by reaching out to Google Nest support. Be ready with both the help code and your thermostat’s serial number for the agent. You can find the serial number on the back of the display plate. Just pop it off and note the number located above the QR code.
Good luck with your thermostat tuning!