
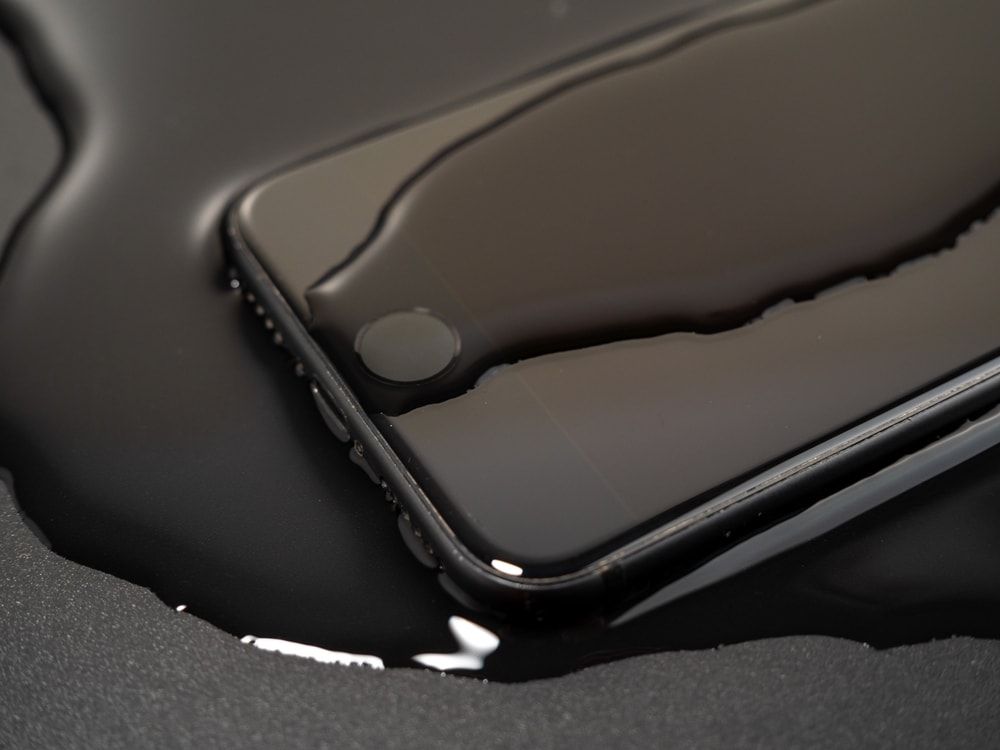
If you’ve been Googling the fix for a while now, you’ve likely faced a flood of conflicting advice on how to save your drenched device.
So, here’s why you should trust this article: I messed up trying to dry out my phone after it got a splash of water from the fountain, but I picked up some lessons along the way.
Let me share with you the personally tried and tested methods and tips to get the water out of your charging port safely, so you’ll save bucks from repairs.
The Clever Fix:
Immediately turn off your phone, and let it air dry. But if you have silica gel packets around, lock your phone in an air-tight container with it to speed up the drying process.
Starting with your phone turned off
I know it’s tempting to see if your phone is working or charging after it got wet, but do not ignore this step.
Ensure to turn off your phone immediately.
Every smartphone repair experts will say the same thing, believe me.
I learned this the hard way because I didn’t turn off my phone while trying to dry the charging port. And guess what? It backfired big time—the phone’s buttons are working, but the touchscreen was a no-go.
You don’t want to end up in that mess, right?
What not to do
Let’s start with the reminders on what not to do when attempting to dry your charging port.
Do not shake your phone

Our first instinct might be to shake the phone, hoping to jiggle the water out of the charging port, but trust me, that’s not doing your phone any favors.
It could actually make things worse by sending water deeper into the device. A gentle shake should be enough if you’re trying to coax the water out using gravity.
Do not insert a cotton swab in the charging port

You might be tempted to poke a cotton swab in there to sop up the water, but resist the urge.
A cotton swab could just end up causing a buildup of debris inside the port.
Do not use any heating device
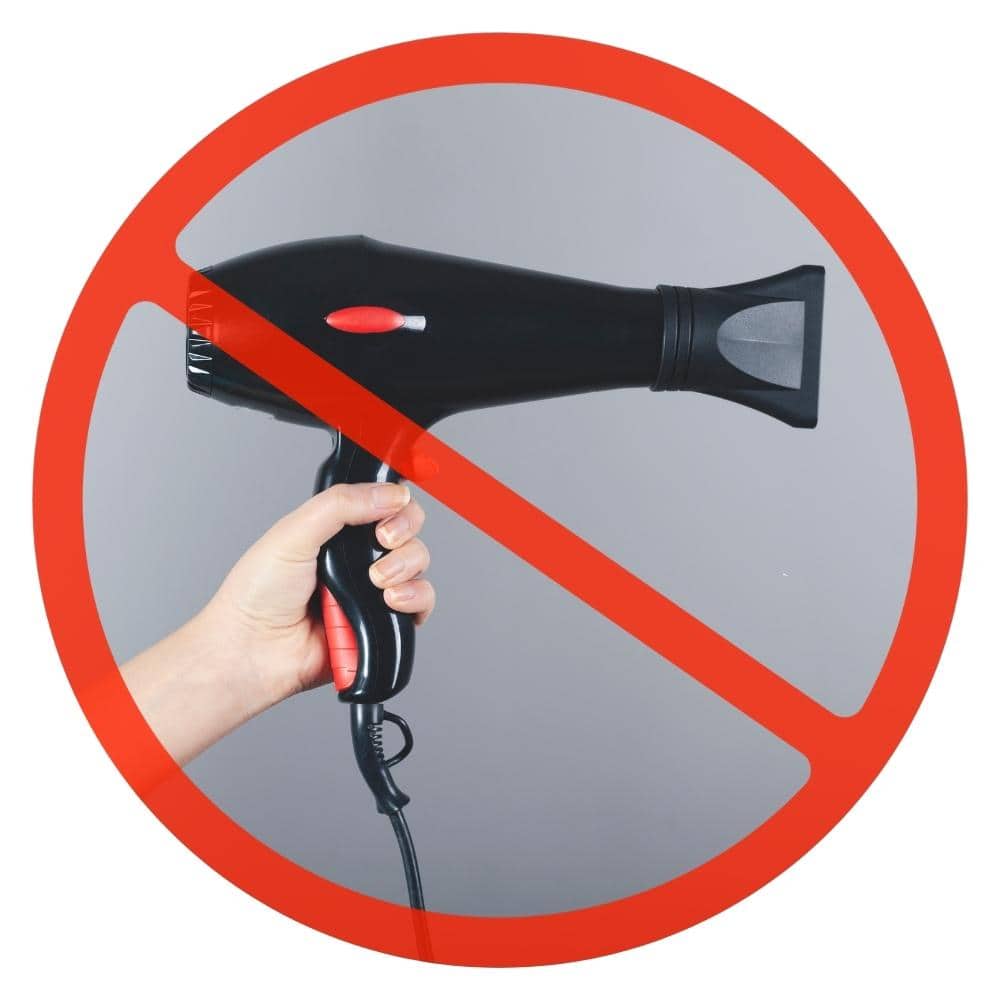
You can air dry your soaked phone in a spot with good air circulation, but let’s face it: that can take a painfully long time, especially if your phone is really water-logged.
It’s really tempting to point a hairdryer to the charging port to speed up the drying, but do not do the same mistake I did.
Remember that cellphones and extreme heat are not friends due to the delicacy of their internal components.
Do not place the phone directly in sunlight

Regardless of whether your phone is wet or dry, direct sun exposure can lead to overheating, and that’s a no-no.
If you’re opting for air drying, choose a breezy spot, but keep it out of direct sunlight.
Do not put the phone directly into the silica gel beads
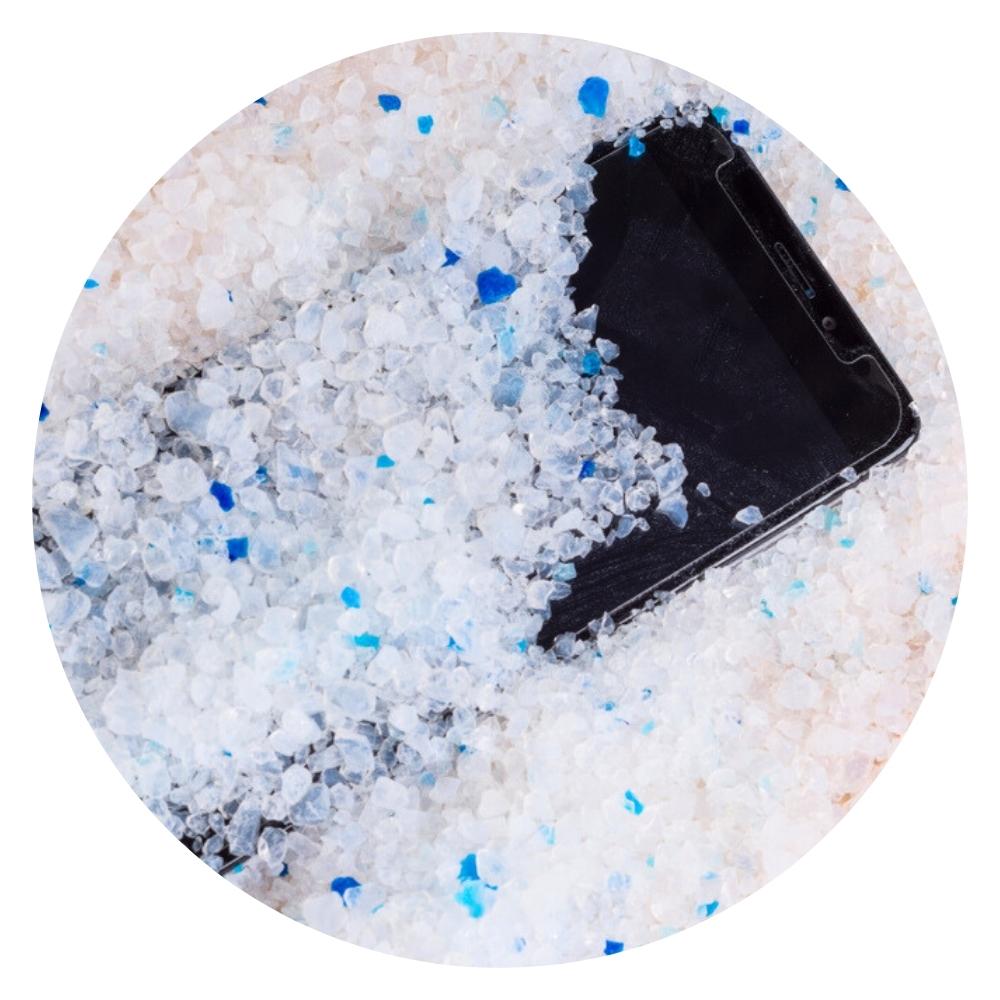
Keep those silica gel beads in their packets.
There’s a chance the tiny beads could get lodged in the charging port if you immerse your phone directly into them. This could cause a whole new set of problems, so it’s best to steer clear.
How to get water out of the charging port
If your phone has a neat feature that alerts you when there’s moisture in the charging port, thank your lucky stars!
Use it as your guide to know when all the water has been successfully evicted from your device
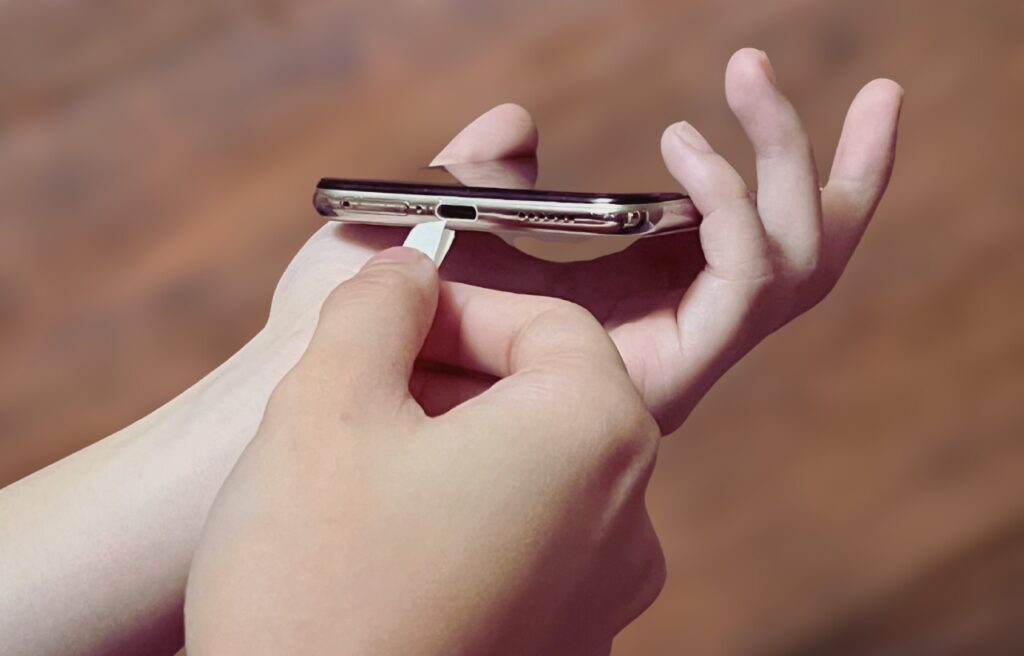
1. Wipe the wall of the charging port
Even a simple little splash of water or juice in the charging port can spell trouble — we’re talking about an electrical hazard here.
However, this quick solution is best suited for minor mishaps and not for total phone submersions.
Here’s the proper way:
- Grab a paper towel and fold it into the size of the charging port.
- Press it gently (do not force it!) inside the charging port.
- Repeat a few times.
After this, give your phone some alone time — a few minutes to an hour — just to be sure all the moisture has made its exit.
Alternatively, you can use a lint-free cloth to clean the inside walls of the charging port. If there’s an eyeglasses wearer in your house, you may already have one of these handy.
2. Place the phone in front of a cooling fan
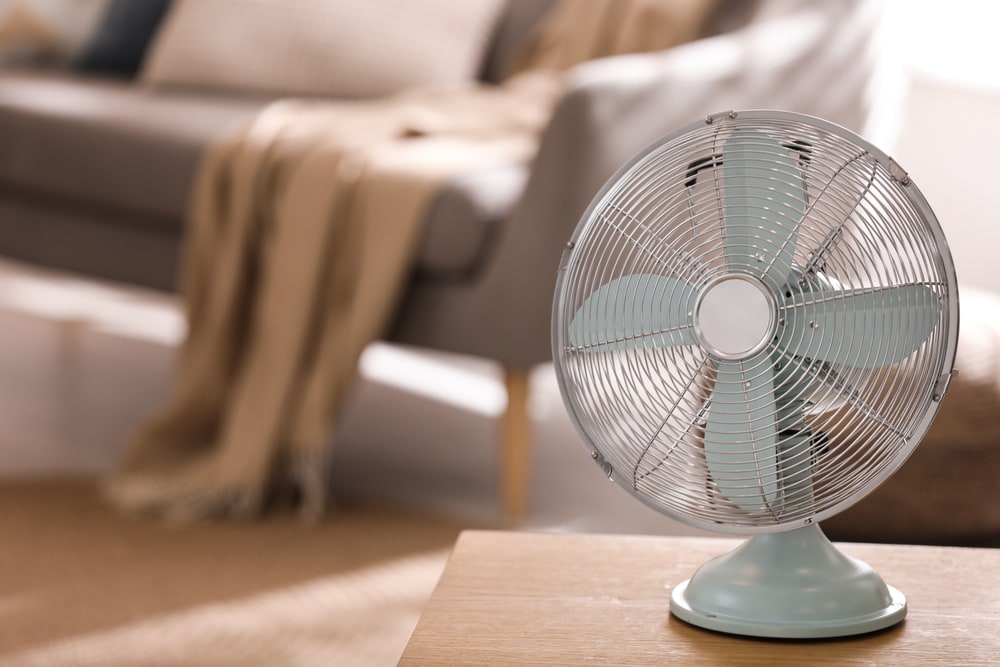
Air-drying can be a slow process, but a fan can kick things up a notch.
Plus, it’s gentler than using a hair dryer.
Here’s what you need to do:
- Point the fan directly towards the phone charging port.
- Adjust the distance and the fan speed so there is a gentle breeze blowing on the phone.
- Let the phone sit there for 20-30 minutes (if minor) or up to 24 hours (if severe).
The goal here is to boost the air circulation around your phone.
Be careful not to crank the fan up too high or put your phone too close — you don’t want to risk driving the water further into the phone.
3. Use vacuum hose
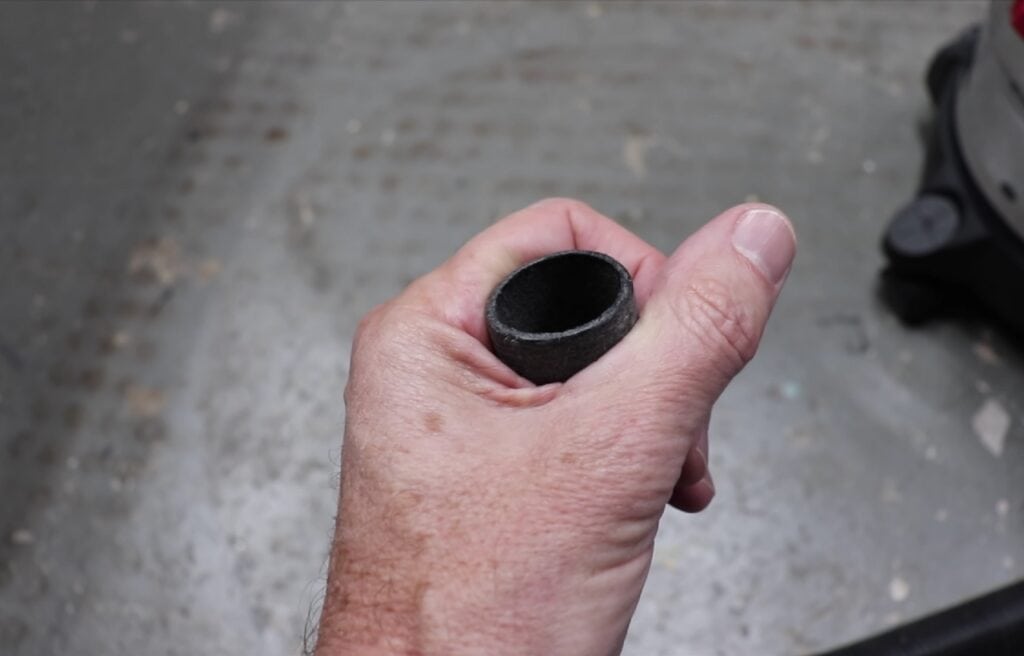
Pointing a vacuum hose at the charging port and giving it a few seconds of suction can pull the water right out — easy peasy!
This method works well because it pulls the water away rather than risking it spreading across the phone.
Just be cautious not to overdo it, as extreme air pressure can be harmful to your phone’s components.
If none of these tips seem to do the trick, you might be dealing with a more serious water invasion than you initially thought.
4. The silica gel packets method

The longer water lingers inside your phone, the higher chance it has of damaging those crucial internal parts.
This is where those little silica gel packets come in handy.
The silica gel packets are those little packets boldly labeled “do not eat” that you often find in new purses, shoe boxes, or pill bottles.
Just round up a bunch of those packets, then put your phone and the silica gel packets in a sealed-tight container.
Don’t worry about how many packets you use—more is better.
And remember, the container has to be airtight because if air sneaks in, the silica gels will suck up the moisture from the air instead of from your phone.
Then, you just have to wait.
Usually, you should leave your phone in there for about 12 to 24 hours.
However, if your phone’s had a major dunk, like in the bathtub, you might need to keep it in for 48 hours or more.
If you need to grab a bunch of silica gel packets, try your local hardware store or big stores like Home Depot or Walmart.
You can find them online too, but since time is of the essence, waiting for a delivery might not be the best move.
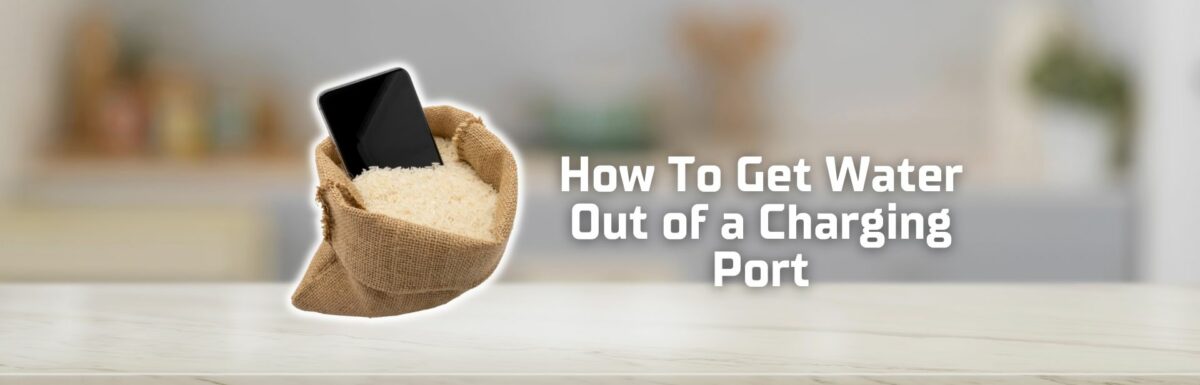
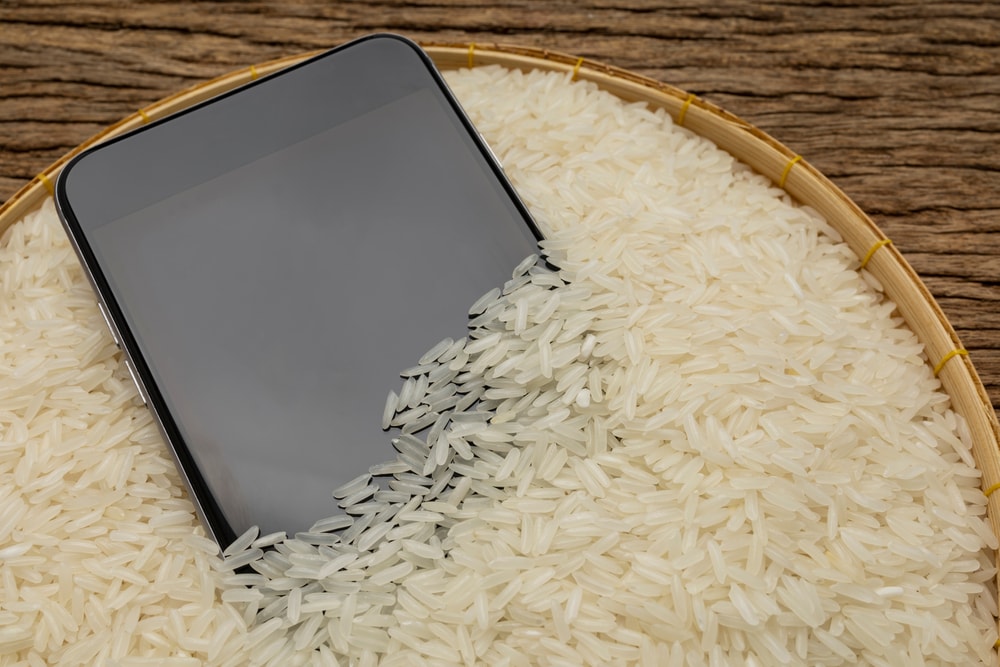
5. Submerge the phone in uncooked rice
If you can’t find those handy silica gel packets, there’s another solution you could try, although it’s not universally recommended.
It’s simple: just seal your phone in a jar full of uncooked rice for 24 hours.
We all know that dry rice does a great job of absorbing moisture.
However, there are some folks who frown on this trick due to potential risks of mold growth and corrosion caused by the rice grains.
Plus, there’s the concern about tiny rice particles worming their way into the charging port or other openings.
Despite its potential downsides, I can vouch for this method based on my own experience and testimonials from others. It’s my go-to solution for those “oops” moments when I’m all thumbs and accidentally spilled water on my phone.
Wrapping up
Solving this issue requires patience because it could take hours, even days, for you to see results.
You might want to try a combination of solutions to make sure you’ve banished every drop of water from the charging port and elsewhere.
Keeping it with silica gel packets can accelerate the drying time. But if you don’t have these on hand, there are some solid alternatives:
- Wipe the walls of the charging port.
- Place the phone in front of a cooling fan.
- Use a vacuum hose.
- Submerge the phone in uncooked rice.
If your phone continues to send out water detection alerts, give it a few more days to dry out naturally.
If after a week you’re still facing issues, it’s time to take your phone to a service center for a professional check-up.
And of course, we’d love to hear about what worked for you!