
Having trouble with the buttons?
Before you give that remote a good smack, let’s see if we can find a gentler solution.
I get it; a malfunctioning remote is annoying, but taking out your frustration on it might just lead to a broken remote instead of a working one.
Just take a deep breath and stay cool.
Together, we’ll figure out what’s going wrong with your remote, whether it’s a Universal, Genie, Gemini, or DIRECTV model.
I’ve got the answers right here, so don’t worry!
The Clever Fix
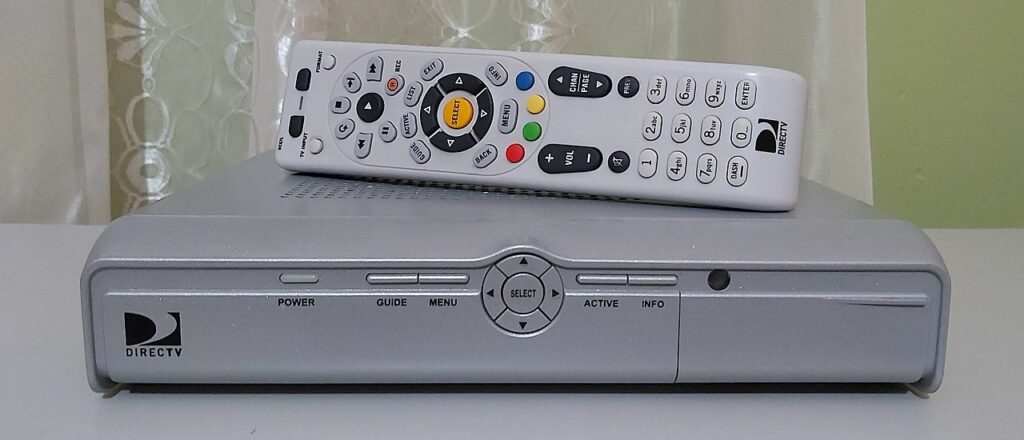
Ensure that the slider on top of the remote is slid all the way to its appropriate setting.
A common mistake (and I’ve been guilty of this too!) is forgetting to change the mode on the remote.
You might think the remote’s broken because the receiver’s ignoring you, but it could just be that the remote is set to the wrong mode.
Want to use DIRECTV?
Just slide the switch to the left until it’s lined up with the DIRECTV symbol.
If you’ve tried that and the remote still isn’t responding to your taps, or if the mode isn’t the issue, then it’s time to take a closer look at the remote itself, its settings, and the receiver. We’ll figure it out!
Why is my DIRECTV remote not working?
I bet you’ve already taken a good look at your remote for any visible damage or issues before searching online for solutions, right?
If you don’t see any stuck buttons or dirt buildup, we can rule those out as the culprits behind your remote woes.
But hey, just to be on the safe side, maybe give those buttons a gentle wipe with a soft, lint-free cloth.
Don’t forget about physical obstructions, either.
The remote and receiver need to see each other, so check for anything that might be getting in the way and move it.
And here’s a funny one: make sure you’re using the right remote.
It sounds goofy, and it’s unlikely, but hey, sometimes folks mix up their TV remotes. It’s one of those silly mistakes that leaves you shaking your head.
Other things to consider?
Pairing failures, power issues, incorrect programming, or maybe your remote or DIRECTV receiver needs a reset.
Stick with me, and I’ll guide you through what to do next in these situations.
How to fix my DIRECTV remote not working
1. Check the batteries
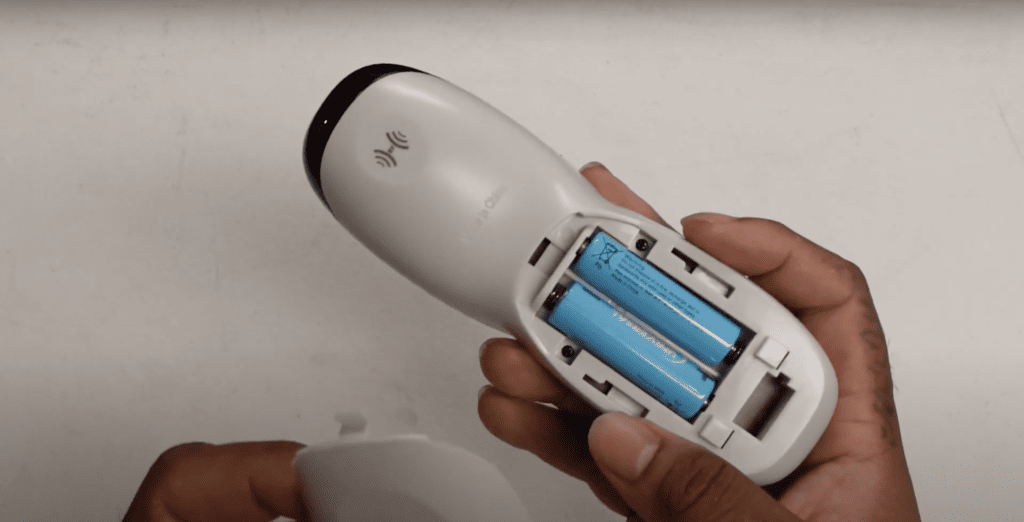
Don’t forget that many times, when a remote’s not working, it’s simply a battery issue.
Just like any gadget, a remote needs enough juice to function right.
The good news? You can quickly check the DIRECTV remote’s battery level with just one button.
Here’s how to do it:
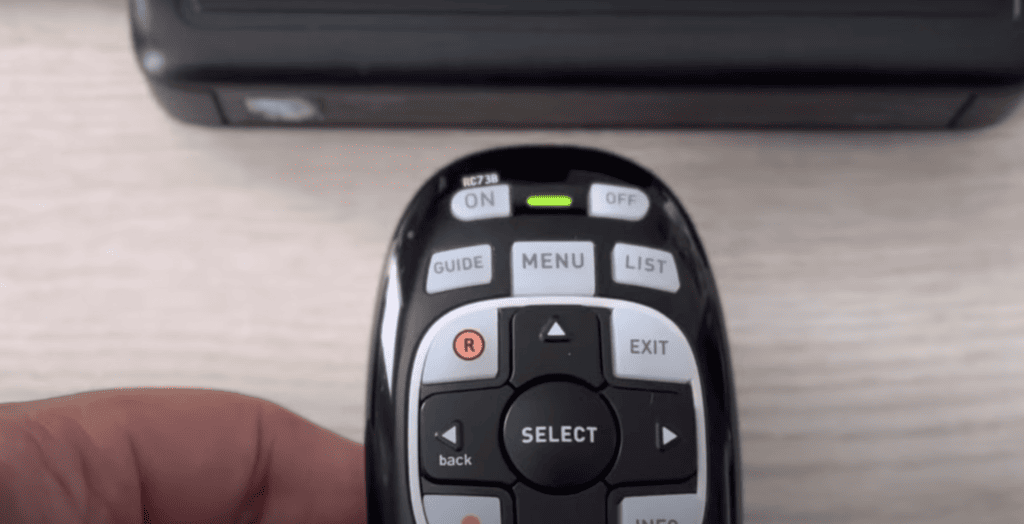
Press any button for a few seconds, and keep an eye on the indicator light. Here’s what those lights mean:
- Steady green light: Batteries are doing just fine.
- Fast flashing green light: Batteries are running low, and you’ll need to replace them soon.
- Slow flashing light or no light at all: Time to change those batteries ASAP.
If the batteries need changing, go ahead and swap them out.
If they’re brand new, you might just want to take them out of the compartment for a second and then put them back in. Sometimes, that’s all it takes to get things back on track.
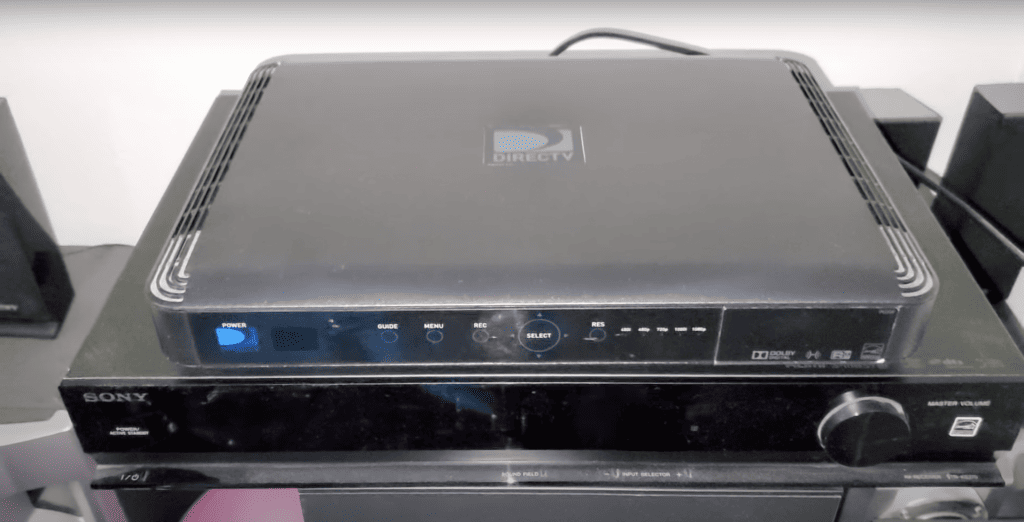
2. Restart the DIRECTV receiver
If your remote’s completely unresponsive, this next fix might be just what you need.
You might be blaming the remote because the receiver’s not responding, but sometimes, the receiver itself is the troublemaker.
Here’s what to do:
Press and hold the red button on the side of the receiver for 10 seconds.
Or, if you prefer, you can unplug it from the outlet for 15 seconds, then plug it back in.
Think of this as a “power refresh.” No need to fret about losing your current settings; they’ll stay put.
It’s a simple step that could get everything working again.
3. Re-pair the remote to the DIRECTV receiver
Let’s emphasize again that the issue might not be with the remote at all, but with the receiver.
Sometimes, they can lose their connection with each other.
Reintroducing the remote to the receiver can refresh their relationship and clear up any glitches that might have been causing the remote to act up or lose its connection.
This fix is especially handy if your receiver suddenly stops responding to your remote’s commands.
Make sure you’ve selected the correct input; otherwise, your remote won’t be able to talk to the receiver.
Ready to unpair and re-pair the remote to the receiver?
Here’s how to do it:
Unpairing steps (applicable to all models):
- Unpair the remote by holding down the dash (-) button and Apps or Diamond buttons simultaneously until the blue LED light flashes twice.
- Perform a restart by pressing the red button on the side of the DIRECTV device.
The pairing steps depend on the model. Follow the instructions appropriate to the one you have.
Pairing steps for Genie remote:
- Aim the remote at the receiver, then press Mute and Enter buttons simultaneously.
- The pairing is successful once you see the Applying IR/RF setup.
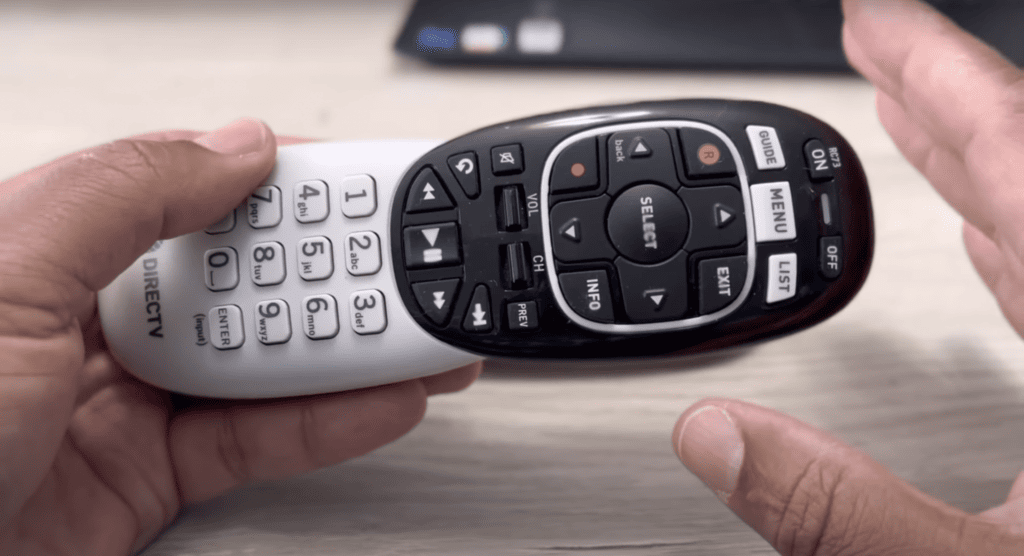
Pairing steps for Gemini remote and DIRECTV remote:
- Once the DIRECTV receiver turns back on, grab the remote and point it to the receiver.
- Long press the Fast Forward and Rewind buttons simultaneously for 2-3 seconds.
- You will see an on-screen message once the pairing is successfully completed.
Pairing steps for Universal remote:
- Tap the Menu button on the remote.
- Go to Settings > Remote Control > IR/RF setup.
- Change to IR if it’s currently set to RF, then select Continue.
- Tap the Exit button on the remote.
4. Program the remote
Being right next to the device won’t make a difference if the remote isn’t programmed to control that specific gadget.
So if you’re trying to manage a soundbar, HDTV, or a DIRECTV-ready TV with a DIRECTV remote, you’ll need to make sure the remote is set up to do just that.
How you program the remote will depend on the particular model you have, so you’ll want to follow the guide that’s specific to your remote.
Once it’s programmed correctly, you’ll be in command, whether you’re inches away or across the room!
Here’s how to do it:
Genie remote
Genie remote to HDTV and other devices:
- Aim the remote at the receiver (Genie HD DVR, Genie Mini, etc).
- Press the Mute and Enter buttons simultaneously until a green light flashes twice.
- The pairing is successful once you see the Applying IR/RF setup.
- Power on the device you want to connect it to.
- Press the Menu button on the remote.
- Look at the screen, then go to Settings > Remote Control > Program Remote.
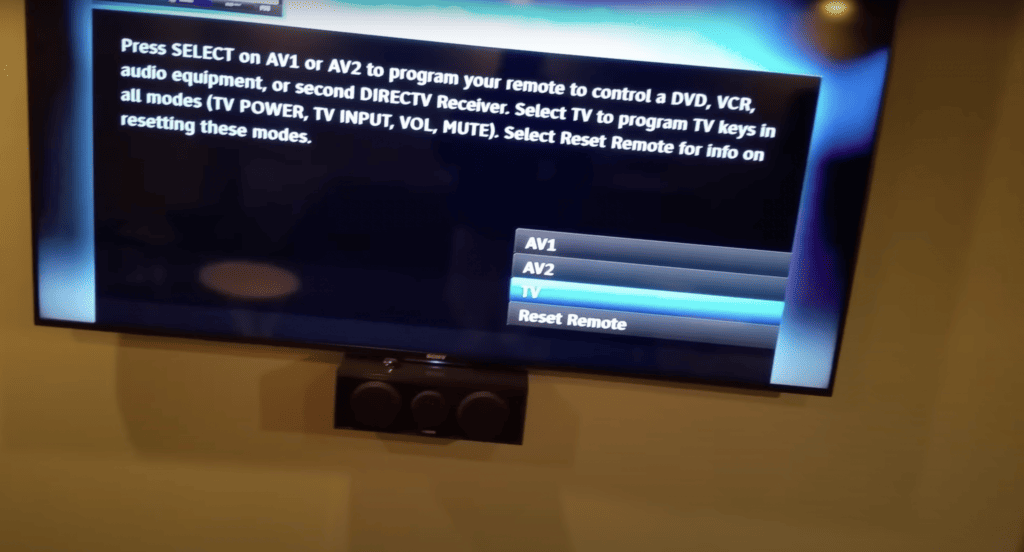
- Select the device you want to control, then follow the on-screen prompts.
Genie remote to audio device (ex. soundbar):
- Aim the remote at the receiver (Genie HD DVR, Genie Mini, etc).
- Press the Mute and Select buttons simultaneously until a green light flashes twice.
- Type 9-6-1 on the remote.
- Tap the Channel Up button once, then the Enter button.
- Press the OK button once the screen flashes “Your Remote is now set up for RF.”
- Power on the device you want to connect it to.
- Press the Menu button on the remote.
- Look at the screen, then go to Settings > Remote Control > Program Remote.
- Select the device you want to control, then follow the on-screen prompts.
Genie remote to DIRECTV-ready TV:
- Aim the remote at the receiver (Genie HD DVR, Genie Mini, etc)
- Press the Mute and Enter buttons simultaneously, until a green light flashes twice.
- Power on the DIRECTV-ready TV once you see the Applying IR/RF setup.
- Press the Mute and Select buttons simultaneously until a green light flashes twice.
- Choose the TV you want it to program with.
(Use the code lookup tool if you can’t find the device in the list.)
Gemini Remote and DIRECTV remote
Genie/DIRECTV remote to soundbars or TVs:
- Press the Home button.
- Go to Settings > System > Remote & Devices > Program Your Remote.
- Choose the TV manufacturer or soundbar you want to add, then follow the on-screen instructions.
Universal remote
Universal remote to HD DVR or HD receiver:
- Press the Menu button.
- Go to Settings > Remote Control > Program Remote.
- Choose the device (TV, audio, DVD) you want it to program with.
(Use the code lookup tool if you can’t find the device in the list.)
- Follow the on-screen prompts.
Universal remote to standard DVR or HD receiver:
- Press the Menu button.
- Go to Parental Favs & Setup > System Setup > Remote or Remote Control > Program Remote.
- Choose the device (TV, audio, DVD) you want it to program with.
(Use the code lookup tool if you can’t find the device in the list.)
- Follow the on-screen prompts.
5. Factory reset the DIRECTV remote
Are specific buttons, like the ones for volume or changing channels, not working? Did swapping the batteries not solve the problem?
A factory reset might be just the ticket to fix these issues.
Usually, we’d prefer to avoid resetting the DIRECTV receiver altogether since reconfiguring everything can be a real hassle.
But here’s the good news: DIRECTV lets you reset just the remote.
This way, you can address those pesky problems without having to mess around with the entire system’s settings.
It’s a handy option that can get your remote back in action!
There are two ways to do a remote reset.
Here’s how to do it:
Reset through the remote only:
- Long press the Mute and Select buttons simultaneously until the green light flashes twice.
- Tap 9-8-1 on the keypad, then the Select button.
- Look out for four flashes of green light which indicates a successful reset.
- Tap the Menu button on the remote.
- Look at the screen, then go to Settings & Help > Settings > Remote Control > Reset Remote.
Once done, pair the remote to the DIRECTV receiver again. Check the section ”3. Re-pair the remote to the DIRECTV receiver” for the pairing steps.
Check if the remote is working again once done.
6. Factory reset the DIRECTV receiver
A factory reset is like a fresh start; it wipes away all errors and glitches by basically removing everything.
Be aware, though, that this means all your configuration settings will be deleted. So make sure you’re ready for that step.
While the reset itself is quick and easy, you will need to go through the setup process again afterward.
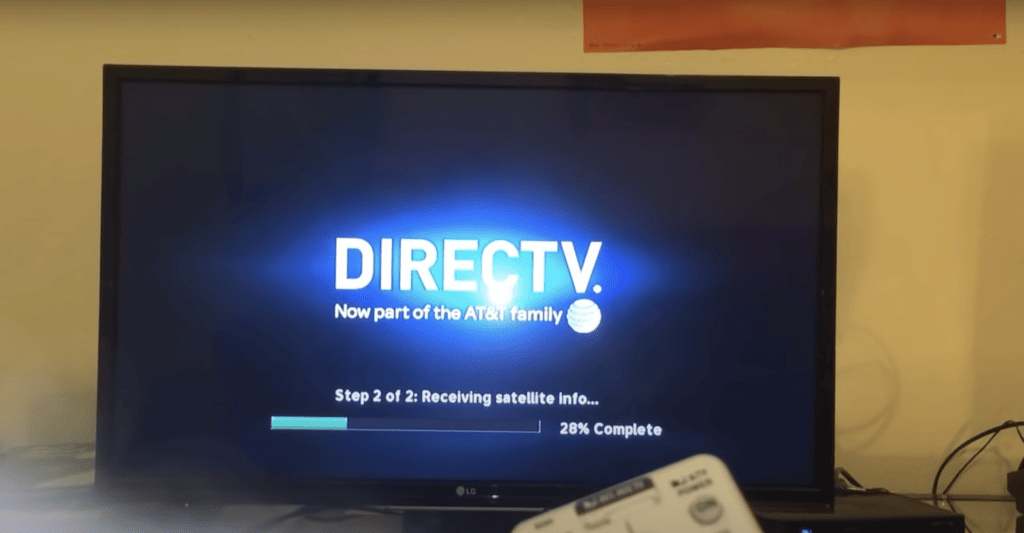
Here’s how to reset the DIRECTV receiver:
Long press the blue DIRECTV power button for 20 seconds.
Once that’s done, you’ll need to re-pair your remote to the receiver.
It’s a few extra steps, but it could be the fix you need to get everything running smoothly again.
What to do if the remote is still not working?
If nothing works, consult the DIRECTV customer support by calling 800-288-2020 or clicking the Chat Now button on their customer support page. Their technical support is available 24/7.
The good thing is, if you have a model HR20 and above, you can use the DIRECTV app as an alternative remote. It basically has the same functions as the remote, like changing channels, adjusting volume, etc.
You can use it temporarily while waiting for a replacement or a response from the DIRECTV team.
If you don’t have the app yet, it is available in the Play Store (Android) and the App store (iOS). Sign in and follow the prompts to link your DIRECTV device.
Wrapping up
The DIRECTV remote is one of the most user-friendly ones out there.
It’s not only quick and easy to control but also simple to troubleshoot, even if you’re not a tech wizard.
Running into problems with your remote?
Here’s a handy recap of what to try:
- Check the Mode Setting: Make sure it’s set to the right mode for what you’re trying to control.
- Look for External Factors: Physical obstructions or dirt buildup on the remote could be the culprits. And double-check you’ve got the right remote in hand!
- Consider Internal Issues: If it seems like something inside might be going wrong, try these steps:
- Check the batteries.
- Restart the DIRECTV receiver.
- Re-pair the remote to the DIRECTV receiver.
- Program the remote.
- Factory reset the DIRECTV remote (if necessary).
- Factory reset the DIRECTV receiver (as a last resort).
Still having trouble? You might need to reach out to customer support.
In the meantime, don’t forget that you can use the DIRECTV app as an alternative. It’s there for you while you sort things out with the remote.
Happy watching!