Start Here
All the resources, training, and support you need to make the most of your tech!
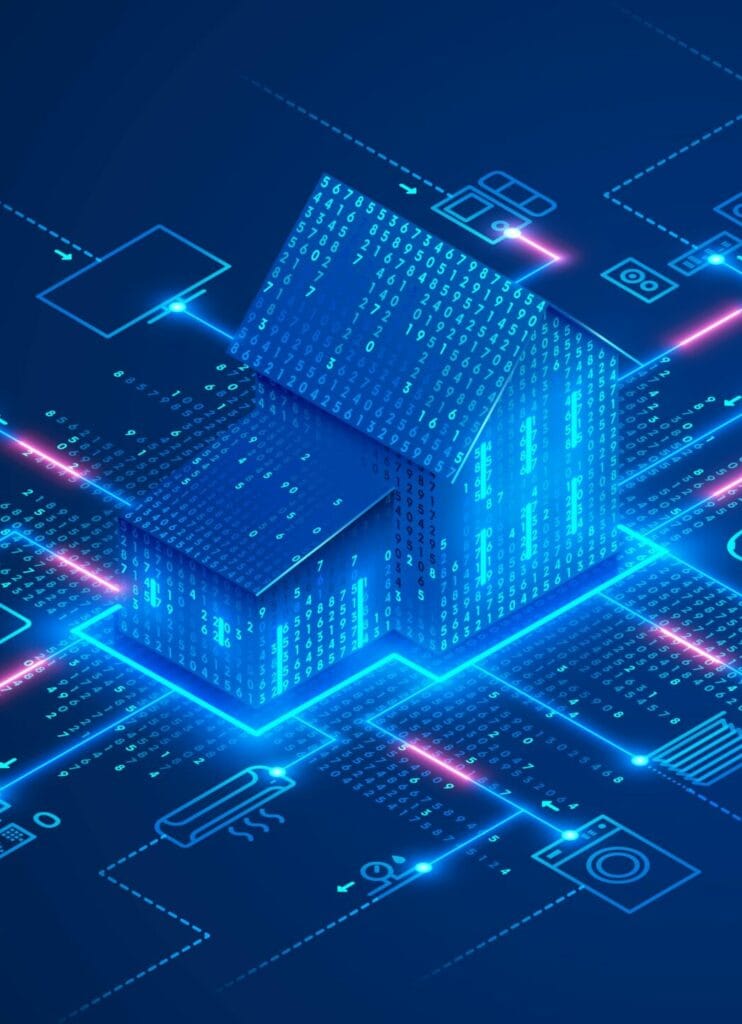
Make your home smarter than ever…
IoT and Smart Home technology will make you feel like you are living in the future. Except sometimes things don’t work quite as you would expect. We are here to help.
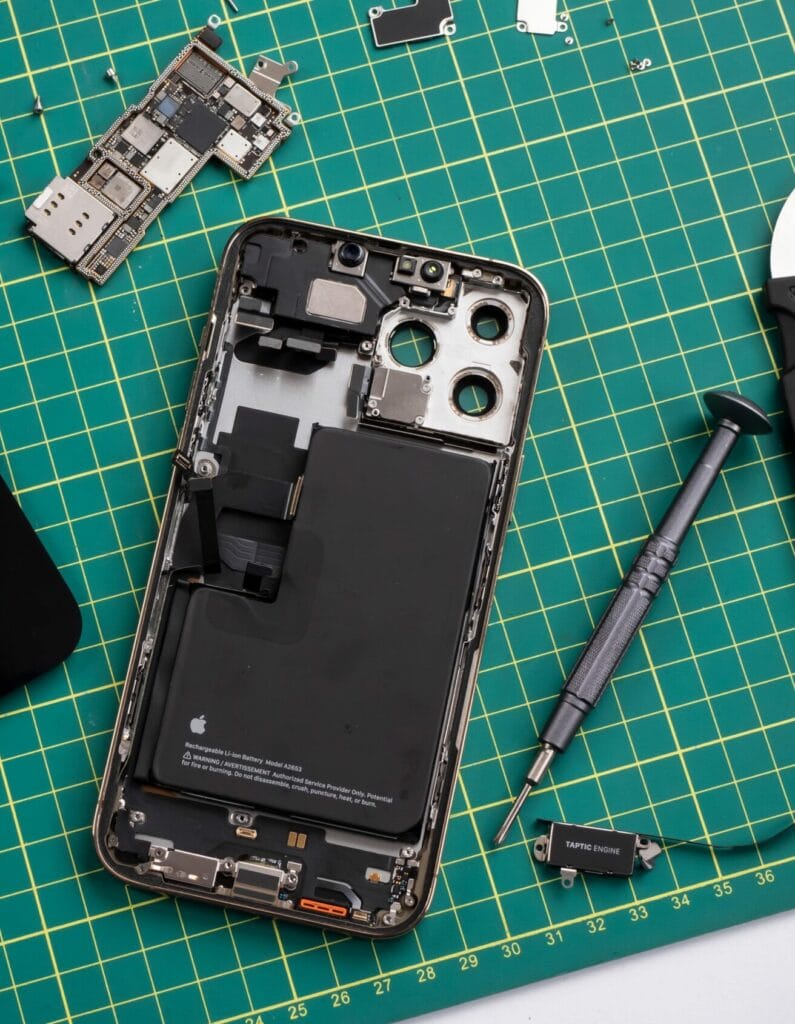
Supercharge your smartphone experience…
Modern phones are an incredible feat of modern technology. From getting directions, staying in touch with your loved ones and helping you reach the infinite depths of the internet, they’ve seemingly got it all.
But sometimes things don’t quite work as you’d expect them to. Don’t fret – we’ll get to the bottom of it together.

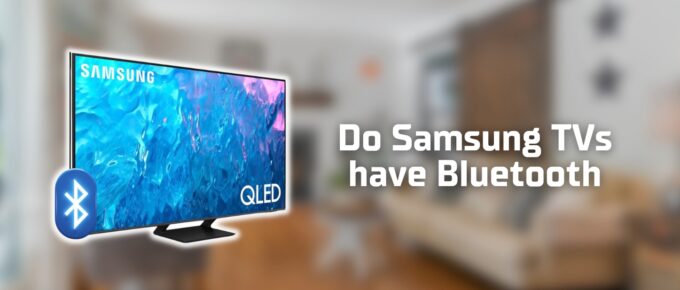
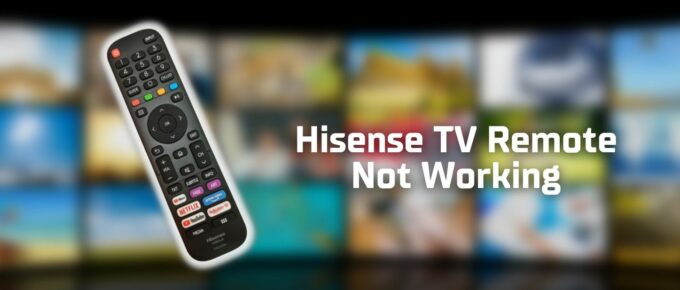
Take your VR, TV and entertainment to the next level…
From 8K TVs to the promises of VR and the metaverse, Hi-Fi systems and everything in between, there have never been more ways to wind down and relax with digital entertainment.
Unexpected errors and troubles can, however, make your day incredibly frustrating. Don’t worry, we’re here to help.
Our Latest Tech Guides & Fixes
Make the most of your tech and gadgets with our expert guides.