

Over the years, I’ve seen firsthand how my friends (and online strangers) scream in frustration whenever a technical hiccup on their headset sours the pleasure of their immersive audio or gaming experience.
As an Astro A50 user, you’ve likely dealt with these annoying technical issues yourself. It could be a sudden loss of audio in the heat of your favorite game, or perhaps a troublesome connectivity issue.
Whatever the problem, you’d be surprised at how often a simple reset can come to your rescue. Yes, learning how to reset your Astro A50 headset can be a game-changer.
With a step-by-step breakdown of resetting your Astro A50, you’ll be prepared to troubleshoot any issue that comes your way.
The Clever Fix
Reset the headset by pressing the Dolby and Game buttons simultaneously for 20 seconds. Do a proper reset by following the full procedure detailed below.
Getting Started for Reset
Before resetting your Astro A50 headset, make sure you have your headset and its dock nearby.
It’s also best to ensure that your Astro A50 headphones are fully charged before attempting any resets. This way, you can avoid any additional complications during the process.
Then, turn off using the Power button and disconnect your headset from any console, PC, or power source.
Once your headset is turned off, you’re ready to initiate the reset process.
Keep in mind that performing a hard reset will erase all settings and customizations on your headset.
Take a moment to jot down any important settings or customization details you’d like to remember.
How to Reset Your Astro A50
You can reset the headset only, Base Station only, or both.
Follow the procedure depending on your reset needs.
1. Headset reset
I’ve heard countless Astro A50 owners voice their frustration when their headset abruptly stops functioning.
Out of the blue, it has become useless – cannot be connected to the Base Station or not powering up.
One of my buddies even slammed his headset on his computer desk out of sheer annoyance. And I get it, it’s a legitimate reaction, especially considering the Astro A50 ain’t cheap. You’re expecting it to outperform other headsets.
Let’s make sure you’re getting your money’s worth by getting it back up and running.
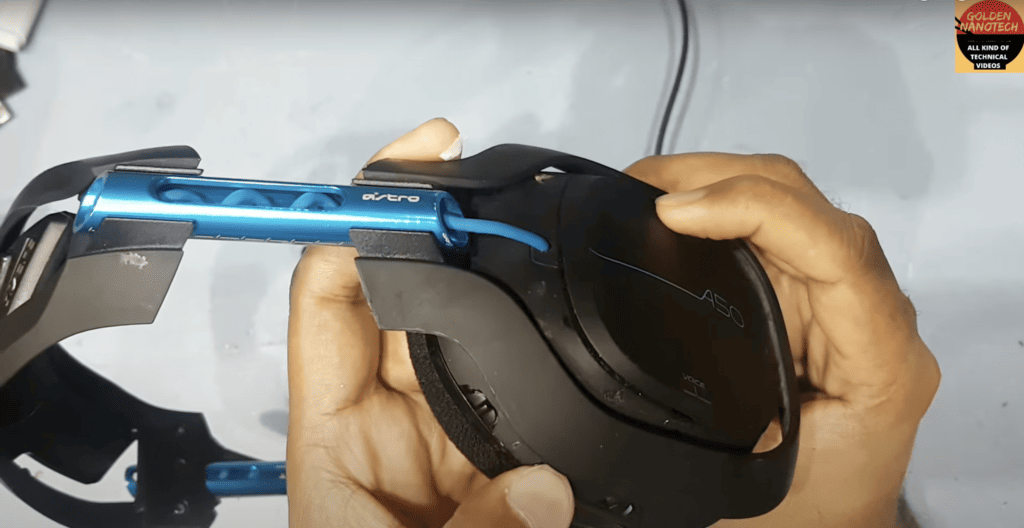
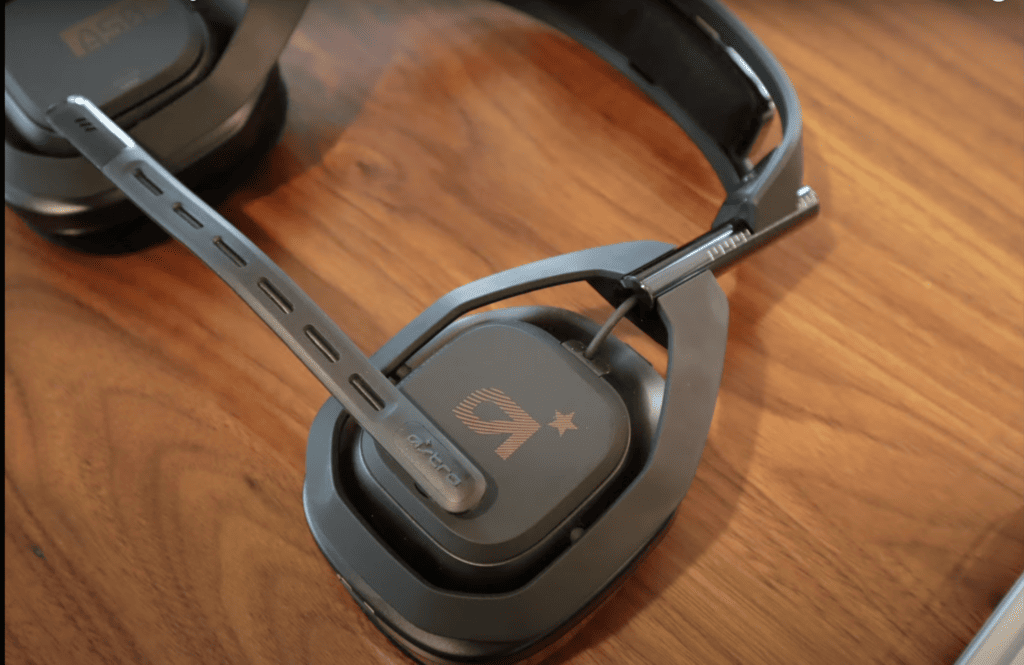
Surprisingly, all it takes to reset the headset are two buttons.
Here’s what you should do:
- Remove the headset from the dock.
- Turn on the headset.
- Press the Game and Dolby button simultaneously for 20 seconds.
You should see a light blinking on your headset, indicating a successful reset.
After completing these steps, your Astro A50 headset should be completely reset and ready for use – as easy as that!
2. Base Station Reset
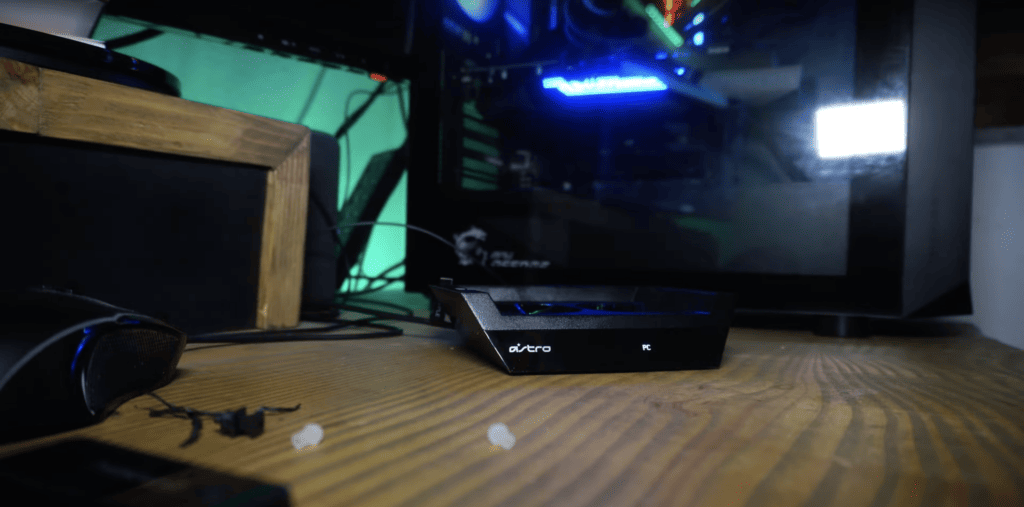
If the problem lies with the Base Station, or resetting the headset didn’t do the trick, then it’s time to focus on the Base Station.
Generally, you won’t need to fully reset the Base Station to get it working again. Often, the issue can be resolved with a simple power refresh.
Feel free to try this initial step.
Just unplug the Base Station from the power source for 20 seconds, then plug it back in.
This won’t erase any of your key settings, unlike doing a full reset.
If that doesn’t help, or maybe you’ve tried it already (which is why you’re searching for the reset steps), let’s dive into the Base Station reset process.
Naturally, you’ll want to start with the headset turned off and disconnected from both the Base Station and your computer or gaming console.
This precaution helps to protect your audio settings and prevent any damage during the reset.
Next, it’s time to perform a reset on the Base Station.
For this, you’ll need a paperclip or possibly a SIM card removal tool. Gently press the hard reset button, typically located on the back or bottom of the Base Station.
Press and hold for a few seconds until you see the Base Station lights start to flash.
The flashing lights signal that the hard reset was successful.
I’m confident that after a reset, your headset should be up and running.
Continue to the next section for instructions on how to kickstart your freshly-reset device.
What To Do After Reset
“So, what’s next?” – This is the usual question after doing a reset.
Since the headset is back to its default settings, you may be unsure about the next steps.
But don’t worry, I’m here to guide you through the process.
1. Reconnect headset to Base Station
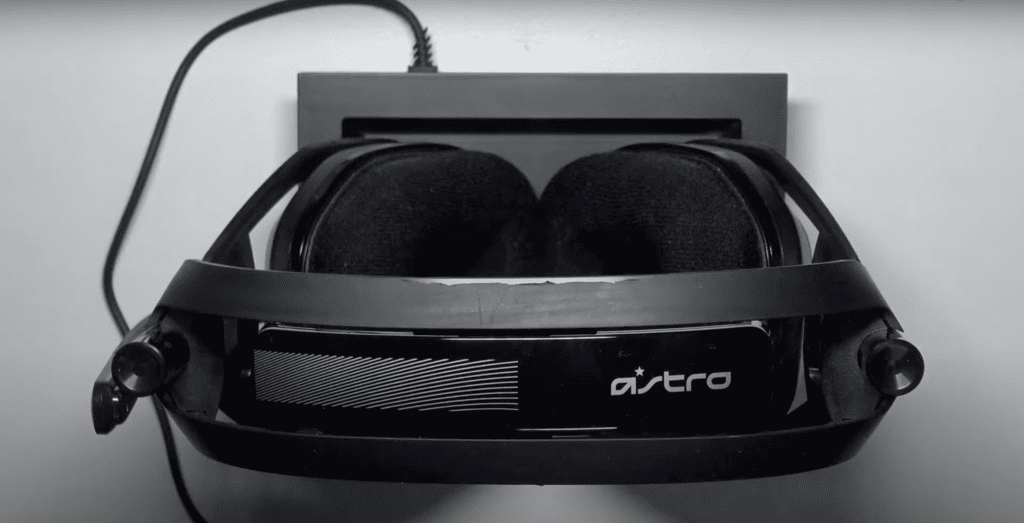
After successfully resetting your Astro A50 headset, you’ll need to reconnect it to the Base Station.
Here’s what you need to do:
- Turn on your headset and Base Station.
- Place the headset on the Base Station’s dock, ensuring proper alignment.
- Allow a few seconds for the devices to pair automatically.
The LED lights on both the headset and Base Station will indicate a successful connection.
2. Reconnect the USB cable
Now, this next step is crucial.
It’s essential to know when to reconnect the USB cable to your headset to avoid issues like no sound or audio glitches.
You have the green light to remove the headset from the dock once the headset is connected to the Base Station.
Then, connect the USB cable from the Base Station to the device you want to use your headset with, such as a gaming console or computer.
3. Testing the Headset
With the Astro A50 headset and Base Station paired up and linked to your device, you’re ready to check if everything’s working fine.
Test it all – check out the audio output, play a video or some tunes to verify the sound quality, try out the microphone by joining a voice chat or recording a quick voice note, and so on.
Listen to the audio to see if there are any distortions or background noise.
If you’re still having issues with sound or experiencing audio glitches, try tweaking the headset’s settings or re-pair it with the Base Station.
Problems after Astro A50 reset – what to do
I’ve dealt with my own set of issues with this headset, and trust me, I understand the frustration that a glitch can cause.
But worry not, using it lets me master the ins and outs of this device, and I’m here to share that expertise with you.
Here are some standard solutions to try should you encounter any hurdles post-reset.
1. Power cycle the headset
Power cycling is a useful trick for any piece of tech. Yes, literally any device – computers, TVs, soundbars, you name it!
For your Astro A50 headset, power cycling is a key part of the reset process.
It enables the headset to refresh its internal system, clearing out any temporary snags or memory issues.
All you’ve got to do is switch off the headset and unplug it from any power sources.
After that, you’re essentially starting with a clean slate with your device.
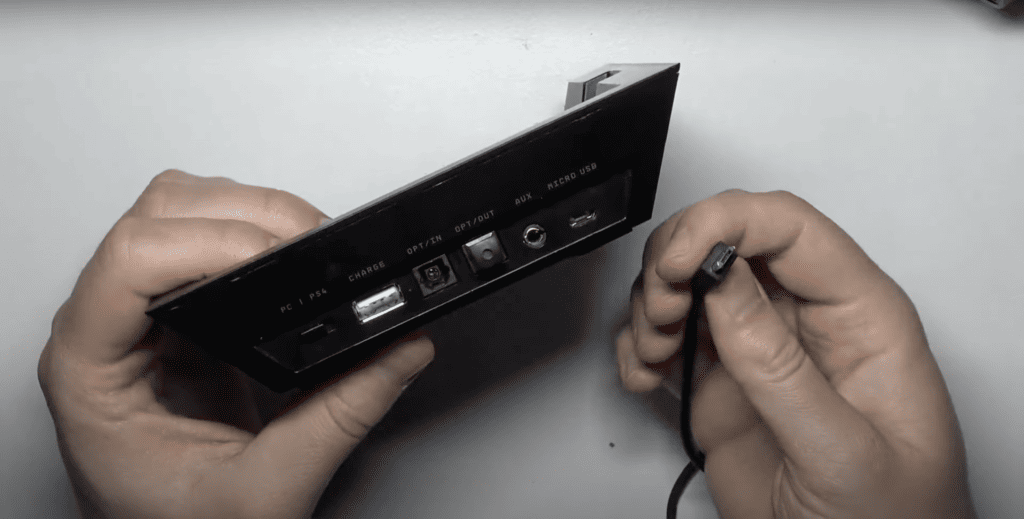
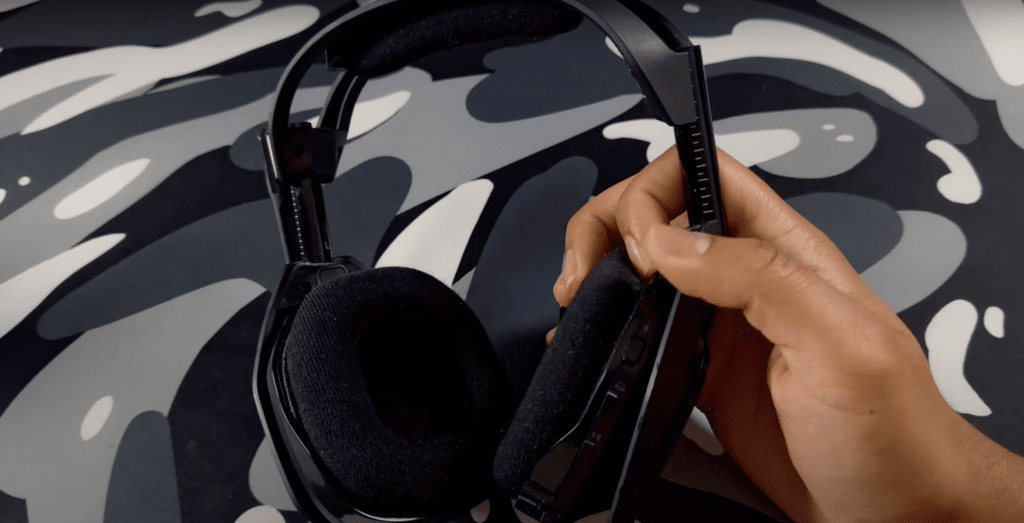
2. Check the cables
Let’s not forget how crucial cables are. A loose cable can lead to a lack of sound and a host of audio bugs. So, it’s important to give those a once-over too.
Perhaps the cables jiggled loose while you were resetting.
Try unplugging and then reconnecting the cables from both the headset and the Base Station to ensure a solid connection.
Also, double-check if your charging dock is properly hooked up to a power source.
If needed, try using a different USB port on your device or computer, as some ports may not provide enough power. This is a usual case for Gen 2 headsets.
3. Firmware Updates
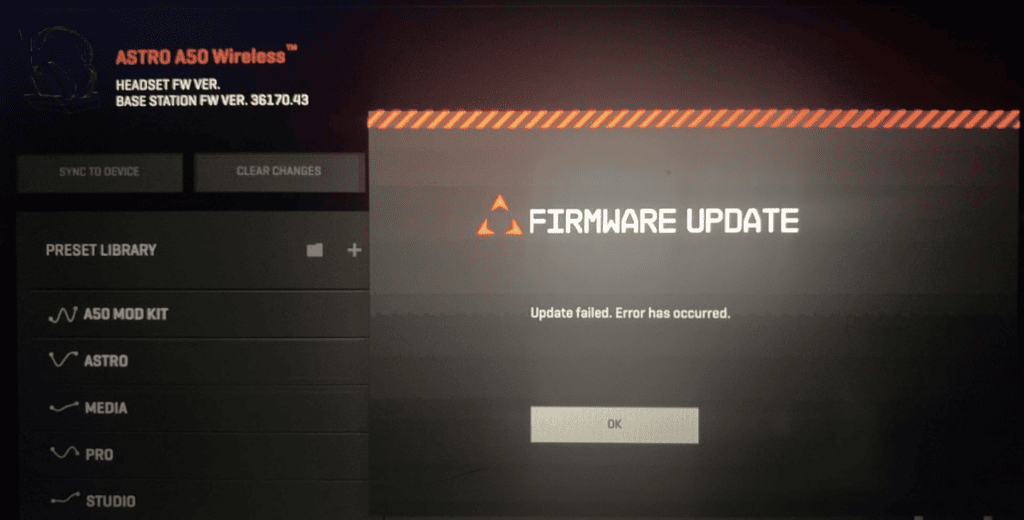
It’s possible that your headset is operating on an outdated firmware version, which could be at the root of the problems you’re experiencing.
Keep in mind that outdated firmware can lead to connectivity issues among other troubles. This is a common issue, particularly for Gen 3 headsets.
It’s recommended to make sure you’re running the accurate firmware version for your specific headset model, as the updates for Xbox and PlayStation versions can differ.
To update your Astro A50 firmware, follow these steps:
- Go to the Astro gaming website.
- Open the ASTRO command on your computer.
- Connect the Base Station to your computer using a USB cable.
- Follow the on-screen prompt.
- Download the firmware update.
First time doing a firmware update?
If it’s your first time to attempt a firmware update, here’s what you need to do:
- Download and install the Astro Command Center software from the Astro Gaming website.
- Once installed, open the application, and it will automatically detect the connected headset.
- Follow the on-screen instructions to update your headset firmware to the latest version.
4. Verify the audio output setting
Most Gen 4 headsets encounter this issue.
In case of audio issues, verify that the Base Station is set to the proper audio output mode (PC or console) and that the volume settings are adjusted accordingly.
5. Connect with customer support
If you continue to face issues with your Astro A50 headset after troubleshooting, don’t hesitate to reach out to Astro Gaming’s customer support for further assistance.
The experienced team of professionals will help diagnose and find the solution suitable for your problem.
They can guide you through the reset process or offer alternative solutions to resolve the issue.
Plus, you can tap into their extensive online resources.
Their online support measures up to their in-person team, offering a treasure trove of helpful documents, user manuals, and problem-solving articles on the Astro Gaming website to tackle common issues.
If you’ve got a little extra time on your hands, you can also delve into various online forums and discussion boards dedicated to Astro gaming headsets.
Should you get a new headset?
Deciding when to spring for a new headset ultimately boils down to a few key factors.
If your current Astro A50 is consistently causing headaches, and a reset hasn’t solved the issues, it might be time to think about getting a new one.
Additionally, consider how often you use your headset and whether the investment is justifiable.
If I were to ask, it’s best to invest in a quality and sturdy headset if you’ve been using a headset everyday, for 4 hours or more daily.
Keeping an eye on the warranty of your current Astro A50 headset can also help you decide when it’s time for a replacement.
If your warranty is about to expire or has already expired, you may want to consider purchasing a new one, as repairs or replacements on an out-of-warranty headset can be costly.
As you decide whether or not to buy a new Astro A50 headset, take the time to assess your personal needs, budget, and usage habits.
This will help you make an informed choice that works best for you.
Wrapping up
By performing a reset when needed, you can keep your headset working at peak performance, enhancing your overall auditory pleasure.
Remember, you may need to go through the reset process if you stumble upon audio issues or if you’d like to wipe out any saved configurations.
A reset can involve just the Base Station, the headset, or both.
After that, it’s time to reconnect everything and give the headset a test run.
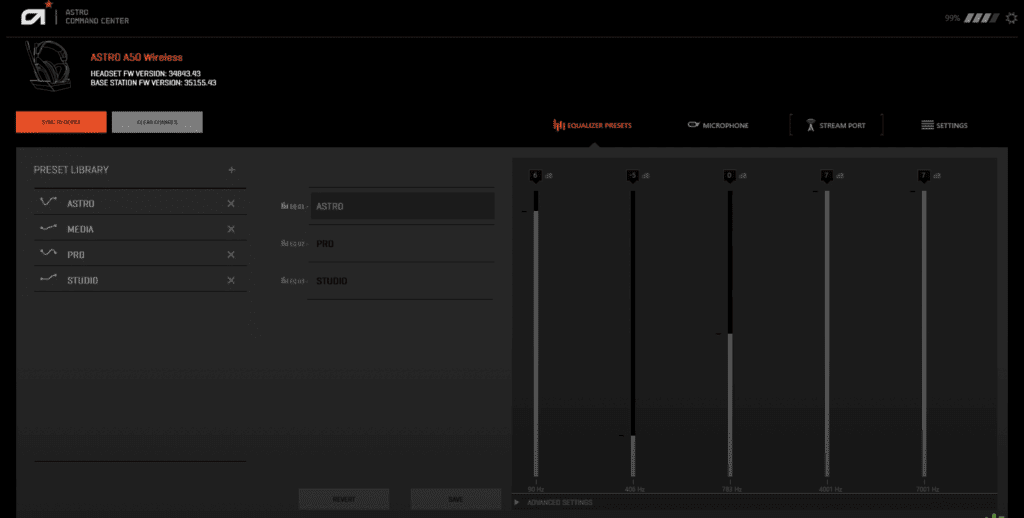
To further tailor your Astro A50 experience, don’t hesitate to explore more settings, such as audio modes, or customize sound profiles through the Astro Command Center software.
Always make sure to charge your headset adequately, and soon you’ll be fully immersed in the outstanding sound and top-notch gaming experience that comes with your Astro A50 headset.
Now that you’re proficient in resetting your Astro A50, you can maximize your gaming and audio experiences with confidence.
Game on!